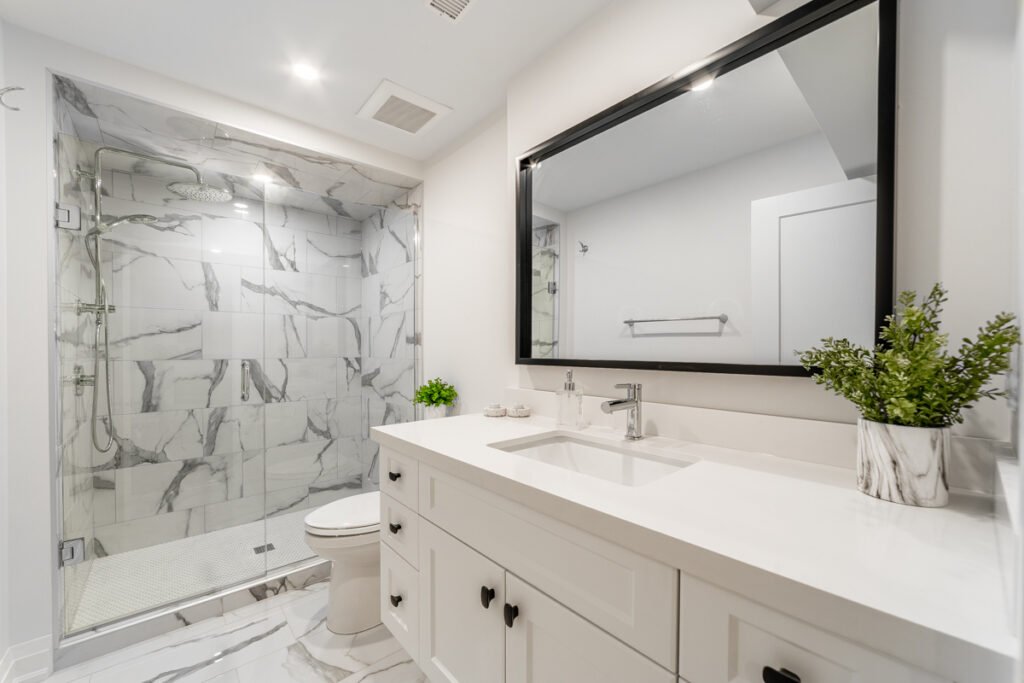
Upgrading your bathroom by installing a new toilet can seem intimidating, but with the right preparation and attention to detail, it’s a manageable DIY project for most homeowners. A well-fitted toilet not only improves comfort and efficiency but also helps prevent leaks and costly water damage. This guide covers the essential steps, common pitfalls, and expert tips to ensure your new fixture is secure and leak-free from day one.
Before you begin, it’s important to measure your bathroom space and select a toilet that fits both your plumbing and your style. For guidance on planning your remodel, check out measuring bathroom space correctly to avoid surprises during installation.
Preparation: Tools, Materials, and Safety
Before removing your old toilet or bringing in the new one, gather all necessary tools and supplies. Having everything on hand will make the process smoother and help prevent mistakes that can lead to leaks.
- Adjustable wrench
- Flathead screwdriver
- Putty knife
- Wax ring or wax-free gasket
- New toilet bolts and caps
- Level
- Rubber gloves and towels
- Bucket and sponge
- Plumber’s tape
Shut off the water supply to the toilet and flush to empty the tank and bowl. Use a sponge or towel to soak up any remaining water. Disconnect the water supply line and remove the old fixture carefully, protecting your floors from drips or scratches.
Removing the Old Toilet and Inspecting the Flange
With the water supply off and the toilet drained, unscrew the nuts from the floor bolts and gently rock the toilet back and forth to break the seal. Lift the old unit straight up and set it aside. Scrape away the old wax ring from the flange using a putty knife, and inspect the flange for cracks or damage. A secure, undamaged flange is critical for a leak-free installation.
If the flange is damaged or sits below the finished floor, use a flange repair kit or extender to ensure a proper seal. Clean the area thoroughly before proceeding.

Setting the New Wax Ring or Gasket
One of the most important steps in installing a new toilet is creating a watertight seal at the base. Place a new wax ring or a modern wax-free gasket onto the flange. Some prefer to attach the ring to the toilet outlet, while others set it directly on the flange—either method works as long as the ring is centered and undisturbed during placement.
Position the new bolts in the flange slots, aligning them so they’ll match the holes in the toilet base. Double-check that the ring or gasket is secure and ready for the next step.
Lowering and Securing the Toilet Bowl
Carefully lift the new toilet and lower it straight down over the bolts, using the holes in the base as a guide. Avoid rocking or twisting, as this can damage the wax ring and lead to leaks. Press down firmly to compress the ring and create a tight seal.
Install washers and nuts onto the bolts and hand-tighten them. Alternate tightening each side a little at a time to keep the pressure even. Do not overtighten, as this can crack the porcelain. Use a level to check that the bowl sits evenly on the floor.
Attaching the Tank and Connecting the Water Supply
If your toilet comes in two pieces, attach the tank to the bowl using the provided hardware. Make sure the rubber gasket between the tank and bowl is seated correctly to prevent leaks. Tighten the bolts evenly, checking for level and stability.
Reconnect the water supply line to the fill valve and hand-tighten the nut. Turn on the water supply slowly and let the tank fill. Check for leaks at the supply connection and around the base. If you notice drips, gently tighten the connections or reset the wax ring if necessary.

Final Checks and Preventing Leaks
Once the tank is full, flush the toilet several times and check for any signs of water escaping from the base, supply line, or tank bolts. If you see moisture, address it immediately—most leaks are due to misaligned gaskets, loose connections, or uneven tightening.
Trim the excess length from the floor bolts and snap on the decorative caps. Caulk around the base of the toilet if desired, leaving a gap at the back to detect future leaks. Caulking helps keep the area clean and prevents odors, but it’s not required for a watertight seal.
Expert Tips for a Smooth Toilet Installation
- Always use a new wax ring or gasket—never reuse the old one.
- Check that the flange is level with the finished floor for a proper seal.
- Hand-tighten bolts and supply lines to avoid cracking or stripping threads.
- Flush and inspect for leaks before caulking or finishing the job.
- Consider using a wax-free gasket for easier adjustments and less mess.
For more ideas on affordable bathroom upgrades, explore cheap bathroom makeover ideas to complement your new fixture.
Common Mistakes to Avoid When Installing Toilets
Even experienced DIYers can run into issues. Here are some frequent mistakes and how to avoid them:
- Improper flange height: If the flange is too low, use an extender to ensure a tight seal.
- Overtightening bolts: This can crack the toilet base or tank. Tighten until snug, not more.
- Misaligned wax ring: Carefully lower the toilet straight down to avoid shifting the ring.
- Skipping leak checks: Always test for leaks before completing the installation.
For more inspiration and planning advice, see these expert tips for planning your perfect bathroom renovation.
Maintaining Your New Toilet for Long-Term Performance
After completing your installation, regular maintenance will keep your toilet running efficiently and prevent issues. Check for leaks periodically, especially after the first few days. Clean the base and tank with non-abrasive cleaners, and inspect the supply line and bolts for signs of corrosion or wear.
Consider upgrading other bathroom fixtures for a cohesive look. If you’re exploring new sink options, our guide on bathroom sink styles can help you choose the right fit for your space.
Frequently Asked Questions
How long does it take to replace a toilet?
Most homeowners can complete the process in two to four hours, depending on experience and whether any repairs to the flange or plumbing are needed. Allow extra time for careful removal and leak checks.
Do I need to caulk around the base of the toilet?
Caulking is optional but recommended for keeping the area clean and preventing odors. Leave a small gap at the back to spot leaks early. Some local codes may require caulking, so check your area’s regulations.
What’s the difference between a wax ring and a wax-free gasket?
Wax rings have been used for decades and provide a reliable seal, but they can be messy and difficult to adjust. Wax-free gaskets are made from rubber or foam, making them easier to install and reposition if needed. Both options work well if installed correctly.
Can I reuse the old toilet bolts or wax ring?
It’s best to use new bolts and a fresh wax ring or gasket for every installation. Old hardware can be corroded or weakened, increasing the risk of leaks.
How do I know if my toilet flange needs repair?
If the flange is cracked, broken, or sits below the finished floor, it should be repaired or replaced before installing the new toilet. A secure flange is essential for a leak-free fit.
With careful preparation and attention to detail, installing a new toilet can be a straightforward project that adds comfort and value to your home. For more bathroom renovation inspiration, explore our ideas for attic bathroom design ideas or discover clever medicine cabinet ideas that blend storage with style.