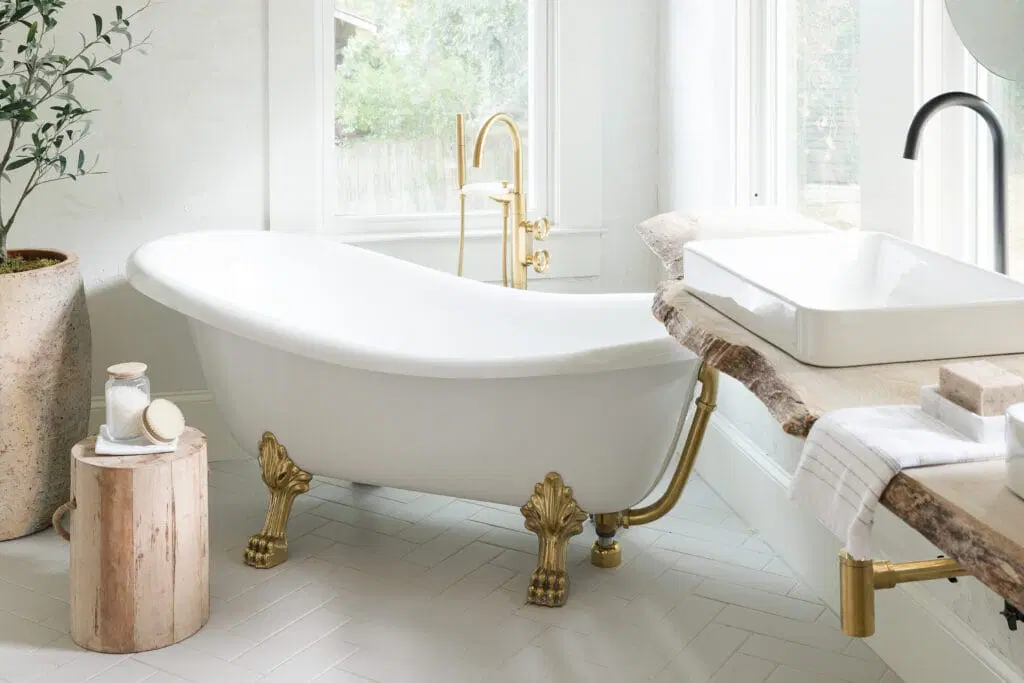
Achieving a well-designed bathroom starts from the ground up. The arrangement of your flooring not only impacts the room’s appearance but also affects comfort, safety, and daily function. Whether you’re renovating a compact powder room or planning a spacious master bath, understanding the fundamentals of bathroom floor layout tips can help you make informed choices that blend style with practicality.
From selecting the right materials and patterns to optimizing the placement of fixtures, every decision plays a role in the final outcome. By following expert advice and considering both aesthetics and usability, you can create a bathroom that feels cohesive and inviting. For a comprehensive overview of flooring materials, installation, and maintenance, the Bathroom flooring buyer’s guide is a valuable resource to consult early in your planning process.
Understanding the Basics of Bathroom Floor Planning
Before diving into specific bathroom floor layout tips, it’s important to assess your space and needs. Start by measuring the room, noting the location of plumbing, doors, and windows. This information will help you determine the best arrangement for fixtures and ensure that your flooring pattern aligns with the room’s dimensions.
- Measure accurately: Use a tape measure to get precise dimensions of the floor area, including alcoves and recesses.
- Account for traffic flow: Consider how people move through the space to avoid awkward transitions and ensure easy access to the shower, toilet, and vanity.
- Plan for drainage: Proper slope and placement of drains are essential to prevent water pooling and maintain a safe, dry floor.
Choosing the Right Flooring Materials
Material selection is a key factor in both design and durability. Popular options include ceramic and porcelain tile, vinyl, natural stone, and waterproof laminate. Each material offers unique benefits and can influence your layout choices.
- Ceramic and porcelain tile: Durable, water-resistant, and available in a wide range of styles and sizes.
- Vinyl plank and tile: Affordable, easy to install, and soft underfoot—ideal for DIY projects and family bathrooms.
- Natural stone: Luxurious and timeless, but requires sealing and more maintenance.
- Waterproof laminate: Mimics the look of wood or stone while offering moisture resistance.
For more ideas on affordable options, see the most affordable bathroom flooring guide, which compares cost-effective choices for every budget.
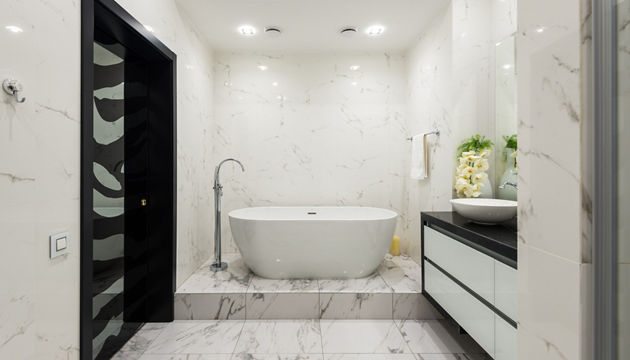
Optimizing Tile Patterns and Layouts
The way you arrange tiles or planks can dramatically change the look and feel of your bathroom. Strategic placement can make a small room appear larger or add visual interest to a plain space. Here are some effective layout strategies:
- Grid pattern: Simple and classic, this layout works well with square or rectangular tiles and creates a clean, orderly appearance.
- Diagonal layout: Laying tiles at a 45-degree angle can visually expand the room and disguise uneven walls.
- Herringbone and chevron: These patterns add movement and sophistication, especially with wood-look planks or elongated tiles.
- Mixing tile styles: Combine different shapes, sizes, or colors for a custom effect. For inspiration, explore the article on mixing tile styles on bathroom floor.
When planning your layout, always dry-lay a section before installation to preview the final look and ensure proper alignment.
Maximizing Space in Small Bathrooms
Compact bathrooms present unique challenges, but smart floor planning can help you make the most of every inch. Here are some bathroom floor layout tips tailored for smaller spaces:
- Use large-format tiles: Fewer grout lines create a seamless appearance and make the room feel more open.
- Light colors and reflective finishes: Pale hues and glossy surfaces bounce light and enhance the sense of space.
- Continuous flooring: Extending the same material into the shower or adjoining areas visually enlarges the room.
- Minimal transitions: Avoid abrupt changes in pattern or material, which can break up the floor and make the space feel smaller.
For guidance on selecting tile dimensions that suit your layout, refer to the article on how to choose bathroom tile size.

Installation Considerations for a Flawless Finish
Even the best design can be undermined by poor installation. Pay attention to details such as subfloor preparation, grout lines, and transitions between materials. Here are some practical pointers:
- Level the subfloor: An even base prevents cracking and ensures tiles or planks lay flat.
- Mind the grout: Consistent grout lines contribute to a polished look. Choose a color that complements your tiles and is easy to maintain.
- Transition strips: Use these where the bathroom meets other flooring types to create a smooth, safe edge.
- Avoid lippage: Uneven tile edges can be unsightly and hazardous. For professional advice, see the article on how to avoid lippage in tile installation.
Incorporating Design Trends and Personal Style
While functionality is crucial, your bathroom floor is also an opportunity to express your taste. Current trends include bold geometric patterns, wood-look tiles, and the use of contrasting grout for added definition. Don’t be afraid to experiment with color or texture, but aim for a balance that complements the rest of your home.
For more inspiration and visual examples, explore bathroom flooring ideas from leading design brands.
Maintenance and Longevity
A well-planned floor layout should also be easy to clean and maintain. Choose materials that resist moisture and stains, and seal grout lines to prevent discoloration. Regular cleaning with appropriate products will keep your bathroom floor looking its best for years to come.
Frequently Asked Questions
What is the best tile size for small bathrooms?
Larger tiles, such as 12×24 inches, can make a compact bathroom appear more spacious by reducing the number of grout lines. However, the ideal size also depends on your layout and the proportions of the room. For more guidance, see the advice on how to choose bathroom tile size.
How do I prevent water damage on my bathroom floor?
Select waterproof materials like porcelain tile, vinyl, or sealed natural stone. Ensure proper installation with a well-sloped floor toward the drain and sealed grout lines. Regularly check for leaks and address any issues promptly to avoid long-term damage.
Can I mix different types of flooring in the same bathroom?
Yes, combining materials or patterns can add interest, but transitions should be smooth and visually cohesive. For tips on blending styles, refer to the article on mixing tile styles on bathroom floor.