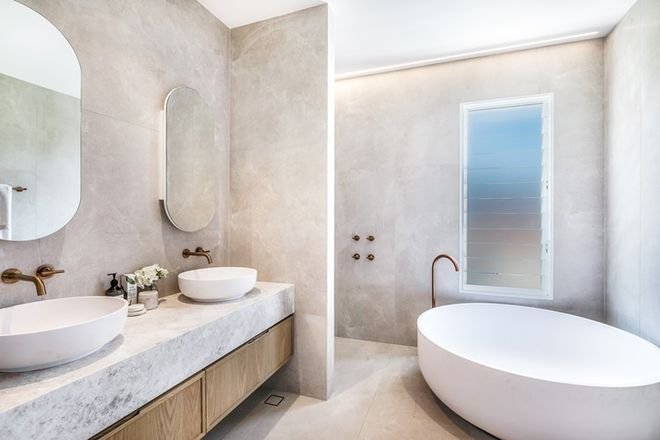
Upgrading your bathroom can make a significant difference in both functionality and style. For many homeowners, installing bathroom fixtures is one of the most approachable ways to refresh the space without a full remodel. Whether you’re updating a faucet, swapping out a showerhead, or adding new hardware, understanding the installation process is key to a successful result.
This guide covers the essential steps for beginners, from planning and preparation to the final touches. You’ll find practical advice, safety tips, and helpful resources to ensure your project goes smoothly. If you’re also considering a budget-friendly transformation, you might find inspiration in bathroom remodel under $1000 ideas, which can help you maximize your investment while keeping costs low.
Planning Your Bathroom Fixture Upgrade
Before you start any hands-on work, it’s important to plan your project carefully. Take measurements of your space and decide which fixtures you want to replace or add. Common upgrades include:
- Faucets and taps
- Showerheads
- Toilets
- Towel bars and hooks
- Lighting fixtures
Choosing the right products is essential. Look for fixtures that match your plumbing connections and fit the style of your bathroom. If you’re unsure about sizing or layout, check out tips on measuring bathroom space correctly to avoid costly mistakes.
Gather all necessary tools and materials before you begin. Typical supplies include an adjustable wrench, screwdrivers, plumber’s tape, a bucket, and cleaning cloths. Always read the manufacturer’s instructions for each fixture, as installation steps can vary.
Preparation and Safety Tips
Safety should always come first when working on home improvement projects. Here are some essential steps to prepare your workspace:
- Turn off the water supply to the bathroom before removing or installing any plumbing fixtures.
- Shut off electrical circuits if you’re working with lighting or outlets.
- Clear the area of personal items and cover surfaces to protect them from dust or debris.
- Keep a bucket and towels handy to catch any water that may spill during removal.
Wearing gloves and safety glasses is recommended, especially when handling tools or working with old hardware. If you encounter unexpected issues, such as corroded pipes or electrical wiring, consider consulting a professional.
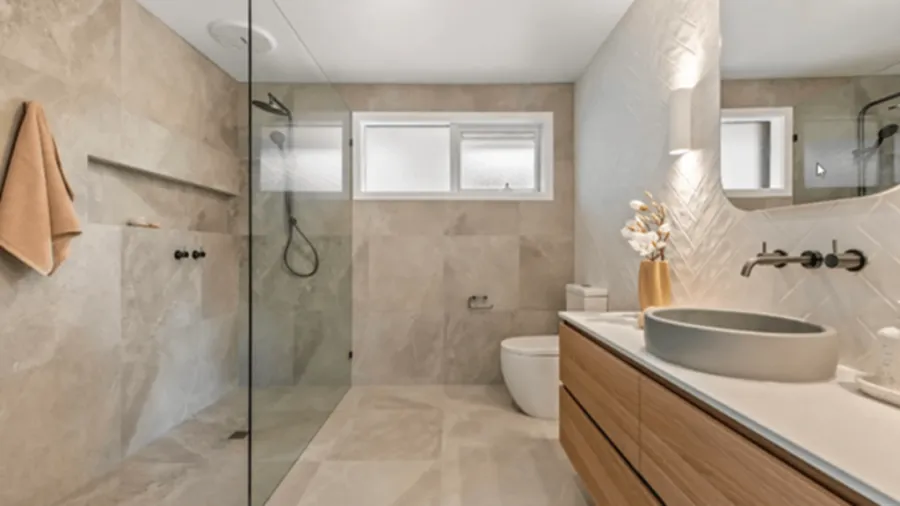
Step-by-Step Guide to Installing Bathroom Fixtures
Each fixture has its own installation process, but the general approach is similar. Here’s a breakdown of the most common steps for beginners:
Removing Old Fixtures
- Shut off the water supply valves under the sink or behind the toilet.
- Open the faucet or flush the toilet to drain any remaining water.
- Use an adjustable wrench to disconnect supply lines and mounting hardware.
- Carefully remove the old fixture, keeping a bucket nearby for any drips.
- Clean the area thoroughly before installing the new item.
Installing a New Faucet or Showerhead
- Wrap plumber’s tape around the threads of the new fixture to prevent leaks.
- Attach the fixture by hand, then tighten gently with a wrench—avoid over-tightening.
- Reconnect the supply lines and check for leaks by slowly turning the water back on.
- Test the fixture to ensure proper operation and make any necessary adjustments.
For more creative ways to personalize your space, explore DIY bathroom decor projects that can complement your new fixtures.
Mounting Accessories and Hardware
- Mark the desired location for towel bars, hooks, or shelves using a level.
- Drill pilot holes if needed, insert wall anchors, and secure with screws.
- Double-check alignment before tightening all fasteners.
Many modern accessories use adhesive mounts for easy installation, reducing the need for drilling. Always follow the manufacturer’s recommendations for best results.
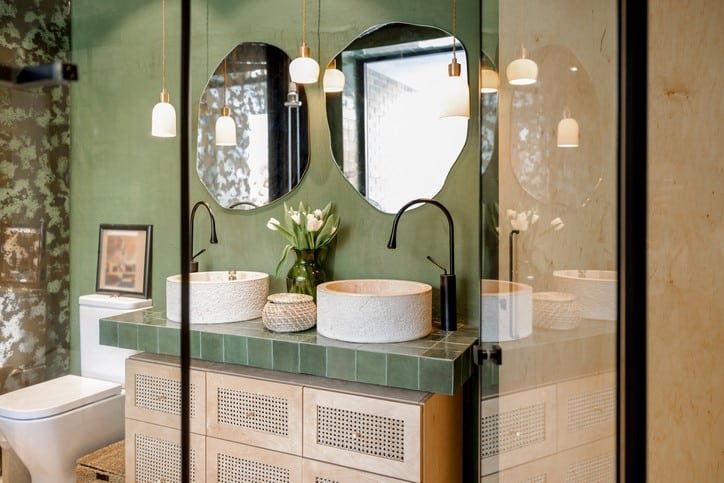
Common Mistakes to Avoid When Upgrading Bathroom Fixtures
Even with careful planning, beginners can run into a few pitfalls. Here are some frequent errors and how to avoid them:
- Skipping measurements: Always double-check dimensions to ensure new fixtures fit existing spaces and plumbing.
- Over-tightening connections: Excessive force can crack porcelain or strip threads. Tighten until snug, not more.
- Ignoring water shutoff: Failing to turn off the supply can result in leaks or water damage.
- Not using plumber’s tape: This simple step prevents leaks at threaded connections.
- Forgetting to check for leaks: After installation, inspect all joints and supply lines for drips before finishing up.
For more ideas on affordable transformations, see cheap bathroom makeover ideas that still look amazing.
Expert Tips for a Professional Finish
Attention to detail can make your project look polished and last longer. Here are a few expert suggestions:
- Seal around sinks and tubs with silicone caulk to prevent water intrusion.
- Use a level to ensure fixtures and accessories are straight.
- Choose corrosion-resistant hardware for humid environments.
- Clean new fixtures with a soft cloth to remove fingerprints and debris.
If you’re planning a larger renovation, you may want to consult this comprehensive guide to bathroom planning for additional insights and professional advice.
Maintaining Your New Bathroom Fixtures
Once your upgrades are complete, regular maintenance will keep everything working smoothly and looking great. Wipe down surfaces frequently to prevent buildup, and check for leaks or loose fittings every few months. If you enjoy creative projects, thrifted bathroom makeover ideas can help you personalize your space further while staying on budget.
Frequently Asked Questions
What tools do I need for installing new bathroom fixtures?
Basic tools include an adjustable wrench, screwdrivers, plumber’s tape, a bucket, and cleaning cloths. Some projects may require a drill, level, or silicone caulk, depending on the fixture type.
Can I install bathroom fixtures myself, or should I hire a professional?
Most homeowners can handle simple upgrades like faucets, showerheads, and accessories with basic DIY skills. For complex plumbing or electrical work, or if you encounter unexpected issues, it’s best to consult a licensed professional.
How do I prevent leaks after installing new fixtures?
Always use plumber’s tape on threaded connections, tighten fittings securely (but not excessively), and check for leaks by turning the water on slowly. Inspect all joints and supply lines before considering the job complete.