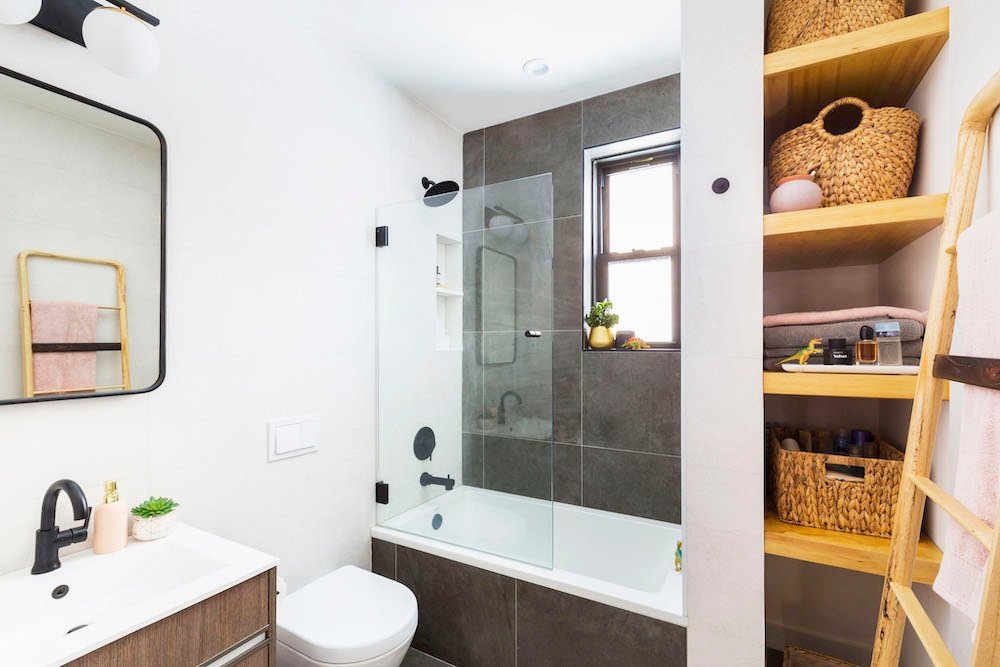
Upgrading your bathroom with a new vanity can transform both its appearance and functionality. Whether you’re renovating an outdated space or simply replacing a worn-out fixture, learning how to install bathroom vanity components yourself can save money and add a personal touch to your project. This guide breaks down the process into manageable steps, highlights common pitfalls, and offers practical tips for a smooth installation.
Before you begin, it’s important to measure your space accurately and select a vanity that fits both your style and bathroom layout. For help with planning, check out this resource on measuring bathroom space correctly to ensure your new fixture will fit perfectly.
Gathering Tools and Materials for Vanity Installation
Before tackling the project, assemble all necessary tools and supplies. Having everything on hand will streamline the process and reduce interruptions. Here’s what you’ll typically need:
- New bathroom vanity and sink
- Adjustable wrench and pliers
- Drill and screwdriver
- Level and measuring tape
- Utility knife
- Plumber’s putty or silicone caulk
- Bucket and towels
- Shims (for leveling)
- Stud finder
Check your vanity’s instructions for any specialty items or fasteners required. If you’re also updating the faucet or plumbing, gather those components as well.
Preparing the Bathroom for a New Vanity
Proper preparation is key to a successful installation. Start by shutting off the water supply valves beneath the sink. Open the faucet to relieve any pressure and drain remaining water. Place a bucket under the pipes to catch drips as you disconnect the supply lines and P-trap.
Once the plumbing is detached, remove the old vanity. This may involve unscrewing it from the wall and carefully lifting it out. Scrape away any old caulk or adhesive from the wall and floor. Inspect the area for water damage or mold, and address any issues before proceeding.
With the space cleared, use a stud finder to locate wall studs. Mark these locations—they’ll provide secure anchor points for your new vanity.
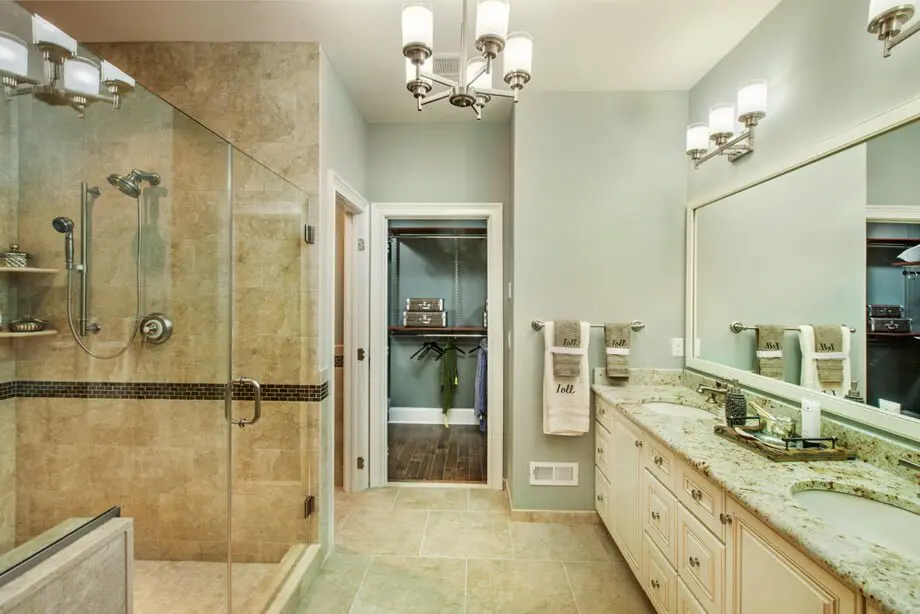
Step-by-Step Instructions for Setting Up Your Bathroom Vanity
1. Positioning and Leveling the Vanity
Move the new vanity into place, aligning it with your plumbing connections. Use a level to check both the top and sides. If the floor is uneven, insert shims beneath the base until the vanity sits perfectly level. Mark the mounting holes on the wall through the back of the cabinet.
2. Securing the Vanity to the Wall
Drill pilot holes at the marked locations, making sure to hit at least one wall stud for stability. Attach the vanity using screws provided by the manufacturer or appropriate wood screws. Avoid overtightening, which can damage the cabinet.
If your vanity doesn’t reach the wall studs, use wall anchors for extra support. Double-check that the unit remains level after fastening.
3. Installing the Sink and Faucet
Set the sink or countertop onto the vanity, following the manufacturer’s instructions. Apply a bead of plumber’s putty or silicone caulk around the edge to create a watertight seal. If your sink is separate from the countertop, secure it as directed.
Install the faucet and drain assembly before connecting the water lines. Tighten all fittings by hand, then finish with a wrench—be careful not to overtighten and crack the sink.
4. Reconnecting Plumbing
Attach the water supply lines to the faucet, then connect the P-trap to the drain. Turn on the water supply valves and check for leaks. If you spot any drips, gently tighten the connections until they stop.
Wipe away excess caulk and clean up the area. Your new vanity is now ready for use!

Tips for a Smooth Bathroom Vanity Upgrade
- Double-check measurements before purchasing your new unit to avoid fitment issues.
- Protect your floor with a drop cloth during removal and installation.
- Use a level at every stage to ensure a professional finish.
- Seal all edges where water could seep in to prevent future damage.
- If you’re not comfortable with plumbing, consider hiring a professional for that portion of the job.
For more inspiration and practical advice, explore these thrifted bathroom makeover ideas or learn how to complete DIY bathroom decor projects to complement your new vanity.
Common Mistakes to Avoid When Replacing a Vanity
Even a straightforward installation can go awry if you overlook key details. Here are some frequent errors and how to prevent them:
- Skipping the shut-off valves: Always turn off water before disconnecting plumbing.
- Neglecting wall preparation: Remove old caulk and repair any wall damage for a flush fit.
- Forgetting to level: An uneven vanity can cause drainage problems and look unprofessional.
- Improper sealing: Failing to seal edges can lead to water damage over time.
- Using the wrong anchors: Secure the vanity to studs whenever possible for stability.
For more advice on what not to do, see these bathroom remodeling mistakes to avoid before starting your project.
Maintaining Your New Bathroom Vanity
Once your new fixture is in place, regular care will keep it looking great and functioning well. Wipe down surfaces with a gentle cleaner, avoid harsh chemicals, and check plumbing connections periodically for leaks. If you’re working within a budget, you might also enjoy these tips for a bathroom remodel under $1000 or explore cheap bathroom makeover ideas for more affordable upgrades.
Frequently Asked Questions
How long does it take to install a bathroom vanity?
For most DIYers, the process takes between two and four hours, depending on your experience and whether you encounter any plumbing challenges. Allow extra time for removing the old unit and addressing any wall or floor repairs.
Do I need to hire a plumber for vanity installation?
If you’re comfortable with basic plumbing tasks like connecting supply lines and the drain, you can likely handle the installation yourself. However, if you need to move plumbing or encounter complex issues, hiring a professional is recommended.
What should I do if my new vanity doesn’t fit?
If your new unit is too large or small, you may need to exchange it for one that matches your measurements. Always measure your bathroom space carefully before purchasing to avoid this issue. For guidance, refer to resources on measuring bathroom space correctly.
Can I reuse my old faucet and plumbing fixtures?
In many cases, you can reuse existing fixtures if they’re in good condition and compatible with your new sink. Inspect them for wear and leaks before reinstalling.
How do I prevent water damage around my vanity?
Seal all joints and edges with silicone caulk, especially where the vanity meets the wall and floor. Regularly check for leaks and wipe up spills promptly to protect the cabinetry and surrounding area.