
Planning a bathroom renovation or updating your flooring starts with one essential step: knowing exactly how much material you need. Accurately determining the area of your bathroom floor ensures you buy the right amount of tiles, vinyl, or other flooring products—saving you both time and money. Whether you’re a DIY enthusiast or working with a contractor, understanding how to measure square footage for bathroom flooring is a fundamental skill.
This guide will walk you through the process of measuring your bathroom floor, including tips for dealing with tricky layouts and accounting for waste. Along the way, you’ll find practical advice, helpful resources, and links to related topics like the Bathroom flooring buyer’s guide to help you make informed decisions.
Why Measuring Bathroom Floor Area Matters
Estimating the correct amount of flooring is crucial for a successful project. Too little material can halt progress, while overbuying leads to unnecessary expenses. By learning the right way to calculate your bathroom’s square footage, you can:
- Reduce waste and avoid excess costs
- Ensure you purchase enough material for your project
- Plan for patterns, cuts, and tricky corners
- Streamline communication with contractors or suppliers
For those looking to explore cost-effective options, check out the most affordable bathroom flooring solutions for inspiration.
Tools and Supplies Needed for Measuring
Before you begin, gather these basic tools to ensure accurate results:
- Tape measure (preferably at least 25 feet)
- Graph paper or plain paper for sketching your layout
- Pencil or pen
- Calculator (or a calculator app)
Optional but helpful items include a straightedge or ruler and a notepad for jotting down measurements.
Step-by-Step Guide to Calculating Bathroom Floor Area
The process for measuring square footage for bathroom flooring is straightforward, but accuracy is key. Here’s how to approach it:
1. Sketch the Bathroom Layout
Start by drawing a rough outline of your bathroom on paper. Include all major features such as the bathtub, shower, vanity, and toilet. Don’t worry about perfect proportions—focus on capturing the overall shape and any alcoves or nooks.
2. Measure Each Section
Bathrooms are rarely perfect rectangles. Break the floor plan into simple shapes—rectangles, squares, or triangles. Measure the length and width of each section in feet. For irregular spaces, divide them into smaller, manageable shapes.
3. Calculate the Area of Each Shape
- Rectangle or Square: Multiply length by width (Area = L × W).
- Triangle: Multiply base by height, then divide by 2 (Area = (B × H) ÷ 2).
- Circle or Semi-circle: For rare curved areas, use Area = π × r² for a full circle, or half that for a semi-circle.
Add up the areas of all sections to get the total square footage. For example, if you have a main area that’s 6 feet by 8 feet (48 sq ft) and a small alcove that’s 2 feet by 3 feet (6 sq ft), your total is 54 sq ft.
4. Account for Fixtures and Obstacles
Most flooring is installed around permanent fixtures like toilets and vanities. If you want to be precise, subtract the area these fixtures occupy. However, many installers recommend measuring the full floor space to ensure you have enough material, especially for patterned tiles or planks.
5. Add Overage for Waste and Cuts
Always add extra to your total to account for mistakes, pattern matching, and future repairs. A standard recommendation is to add 10% to your calculated square footage. For complex layouts or diagonal installations, consider increasing this to 15%.
Tips for Tricky Bathroom Layouts
Bathrooms often have unusual shapes, tight corners, or built-in features. Here’s how to handle common challenges:
- L-shaped rooms: Divide the space into two rectangles and measure each separately.
- Curved or angled walls: Break these into smaller triangles or rectangles for easier calculation.
- Multiple alcoves or closets: Measure each area individually, then sum the totals.
For more on combining different tile patterns or shapes, see the guide on mixing tile styles on bathroom floor.
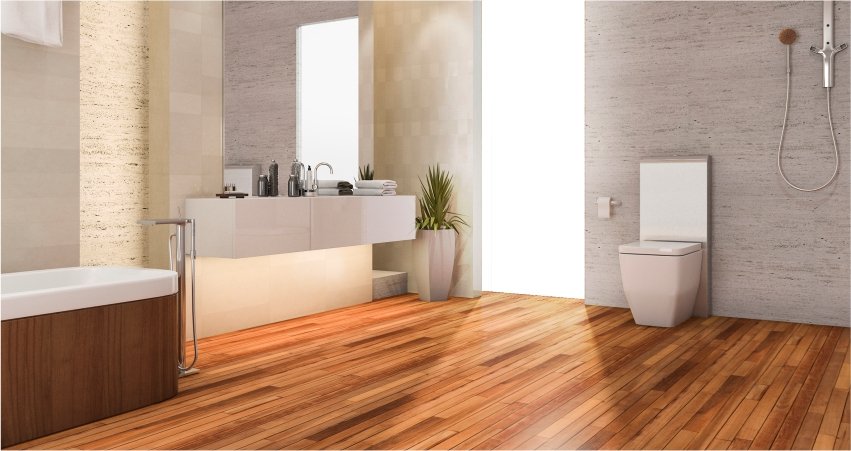
Choosing the Right Flooring Material
Once you’ve determined your bathroom’s square footage, you’re ready to shop for flooring. Consider the pros and cons of different materials—vinyl, ceramic tile, porcelain, or natural stone. Each option has its own installation requirements and waste factors.
For a detailed comparison, refer to the how to choose bathroom tile size resource. If you’re looking for creative inspiration, browse these bathroom flooring ideas for a variety of styles and trends.
Common Mistakes to Avoid When Measuring
- Forgetting to add overage for waste and cuts
- Measuring only the visible area, not under vanities or behind doors
- Ignoring small alcoves or closets
- Not double-checking measurements before purchasing materials
Taking your time and double-checking your math can prevent costly errors. If you’re installing tile, you may also want to learn how to avoid lippage in tile installation for a smooth, professional finish.
FAQ: Measuring for Bathroom Flooring
How do I measure for flooring if my bathroom isn’t a perfect rectangle?
Divide the space into smaller rectangles, squares, or triangles. Measure each section separately, calculate their areas, and add them together for the total square footage.
Should I subtract the area of the toilet and vanity?
Most installers recommend measuring the entire floor area, including under fixed fixtures, to ensure you have enough material and to allow for easier installation and future repairs.
How much extra flooring should I buy?
Add 10% to your total square footage for standard installations. For complex layouts or diagonal patterns, increase this to 15% to cover waste and mistakes.
What if I want to mix different tile styles?
Measure each section where a different tile will be used separately. This helps you order the correct amount of each style. For more tips, see the article on mixing tile styles on bathroom floor.
Can I use a digital tool or app to help with measuring?
Yes, there are many apps and online calculators that can assist with measurements. However, it’s still important to double-check your numbers manually for accuracy.
By following these steps and tips, you’ll be well-equipped to measure your bathroom floor and start your renovation with confidence.