
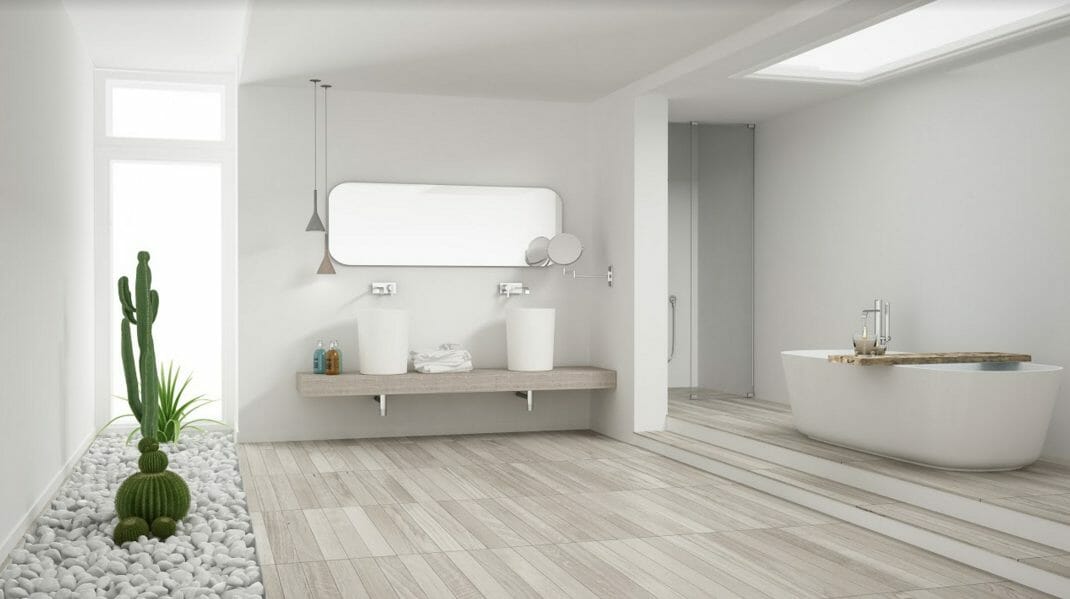
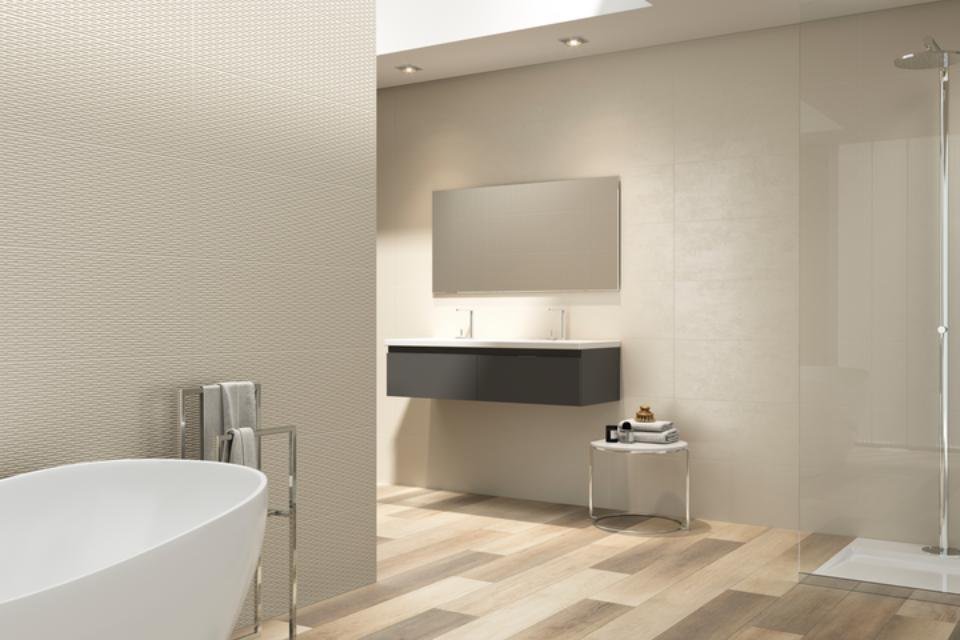
Keeping your bathroom floor protected from water damage is essential for maintaining both appearance and function. Proper caulking at the edges of your bathroom floor creates a watertight seal, preventing moisture from seeping under tiles or vinyl and causing mold, mildew, or structural issues. Whether you’re updating your bathroom or tackling regular maintenance, learning the right way to apply caulk around flooring edges is a practical skill that can extend the life of your floor and keep your bathroom looking fresh.
In this article, you’ll find a step-by-step approach to sealing the perimeter of your bathroom floor, including tips for choosing the right materials, preparing the area, and ensuring a smooth, professional finish. If you’re considering new flooring or want to compare materials, our bathroom flooring buyer’s guide offers detailed insights into different options and their maintenance needs.
Why Sealing Bathroom Floor Edges Matters
The junction where the bathroom floor meets the wall or bathtub is a vulnerable spot for water intrusion. Over time, even small gaps can allow moisture to seep underneath, leading to hidden mold growth, damaged subfloors, and costly repairs. Applying a bead of caulk at these transitions acts as a barrier, keeping water on the surface and making cleaning easier.
Proper caulking also improves the look of your bathroom by creating a clean, finished edge. It’s especially important in bathrooms with tile, vinyl plank, or laminate flooring, where expansion gaps are left for movement and need to be sealed to prevent water ingress.
Choosing the Right Caulk for Bathroom Floors
Not all caulks are created equal. For bathrooms, you need a product that’s waterproof, flexible, and resistant to mold and mildew. The most common options include:
- Silicone caulk: Highly flexible, waterproof, and ideal for areas exposed to frequent moisture. It adheres well to ceramic tile, glass, and porcelain.
- Acrylic latex caulk with silicone: Easier to apply and clean up, paintable, and suitable for less wet areas. Look for formulas labeled “kitchen and bath” for added mildew resistance.
Always check the manufacturer’s recommendations for compatibility with your flooring type. For more on selecting materials, see our guide on most affordable bathroom flooring options.
Preparing for Caulking: Tools and Surface Readiness
Preparation is key to a long-lasting seal. Gather these basic tools before you begin:
- Utility knife or razor scraper
- Caulk remover (if old caulk is present)
- Painter’s tape
- Caulking gun
- Bathroom-grade caulk
- Paper towels or rags
- Small bowl of water (for smoothing)
- Gloves (optional)
Remove any existing caulk or debris from the joint. Clean the area thoroughly and let it dry completely—caulk won’t adhere to damp or dirty surfaces. Use painter’s tape to mask off the edges for a crisp, straight line.
Step-by-Step Guide to Sealing Bathroom Floor Edges
- Remove Old Caulk: Use a utility knife or caulk remover to scrape away any existing caulk. Take care not to scratch the floor or wall surfaces.
- Clean and Dry the Area: Wipe down the joint with a damp cloth to remove dust and soap residue. Allow the area to dry completely.
- Apply Painter’s Tape: Place tape parallel to the joint on both sides to ensure a neat, even bead.
- Cut the Caulk Tube Tip: Cut the nozzle at a 45-degree angle to match the width of the gap you’re filling. Puncture the inner seal if necessary.
- Apply the Caulk: Using a caulking gun, run a steady bead of caulk along the joint. Keep the pressure even and move at a consistent pace to avoid gaps or bulges.
- Smooth the Bead: Wet your finger or use a caulk finishing tool to smooth the bead, pressing it gently into the joint for a tight seal.
- Remove Tape: Carefully peel away the painter’s tape before the caulk skins over, revealing a crisp edge.
- Let It Cure: Allow the caulk to cure according to the manufacturer’s instructions, usually 24 hours, before exposing it to water.
For more tips on working with tiles and preventing installation issues, check out our advice on how to avoid lippage in tile installation.
Common Mistakes to Avoid When Sealing Bathroom Floors
- Using the wrong caulk: Avoid general-purpose or painter’s caulk, which isn’t waterproof or mildew-resistant.
- Applying to wet surfaces: Moisture prevents caulk from adhering properly and can trap mold underneath.
- Skipping surface prep: Failing to clean or remove old caulk leads to poor adhesion and early failure.
- Overfilling or underfilling gaps: Too much caulk can look messy, while too little won’t seal effectively.
- Not smoothing the bead: An uneven finish collects dirt and is more likely to peel away over time.
Tips for a Professional-Looking Finish
- Work in sections: Caulk can start to skin over quickly, so tackle small areas at a time for best results.
- Keep your finger or tool damp: This helps smooth the bead without dragging or sticking.
- Check for gaps: After smoothing, inspect the bead for missed spots and touch up as needed.
- Ventilate the area: Open windows or use a fan to help the caulk cure and minimize odors.
- Choose the right color: White and clear are common, but some caulks are available in colors to match grout or flooring.
If you’re experimenting with different tile patterns or want to coordinate your caulk color, our resource on mixing tile styles on bathroom floor can provide inspiration.
Maintaining Your Bathroom Floor Seal
Regular inspection and cleaning will help your caulk last longer. Wipe down the caulked edges during routine cleaning to prevent soap scum and mildew buildup. If you notice cracking, peeling, or discoloration, it’s time to remove and replace the caulk to maintain a watertight seal.
For more ideas on updating your space, explore these creative bathroom floor ideas that can complement your next project.
Frequently Asked Questions
What type of caulk should I use for bathroom floors?
Choose a 100% silicone caulk or a high-quality acrylic latex caulk with added silicone, both labeled for kitchen and bath use. These are waterproof and resist mold and mildew, making them ideal for wet environments.
How often should I recaulk around my bathroom floor?
Inspect the caulked edges at least once a year. If you see signs of cracking, peeling, or mold, remove the old caulk and apply a new bead to maintain protection.
Can I caulk over old caulk?
It’s best to remove old, damaged caulk before applying new material. New caulk adheres poorly to old, loose, or moldy caulk, which can lead to leaks and further damage.
Should I caulk between the floor and the toilet?
Yes, sealing the base of the toilet helps prevent water from seeping underneath. However, leave a small gap at the back for leak detection.
Is it necessary to caulk around vinyl plank or laminate flooring in bathrooms?
Yes, sealing the edges where vinyl plank or laminate meets tubs, showers, or walls helps prevent water from getting underneath and damaging the subfloor.