
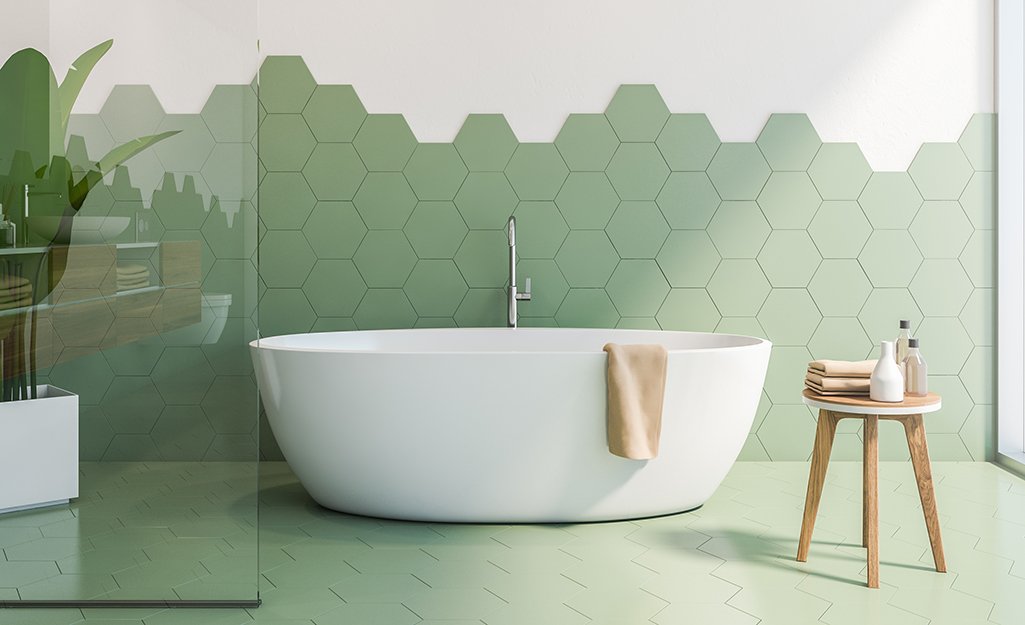
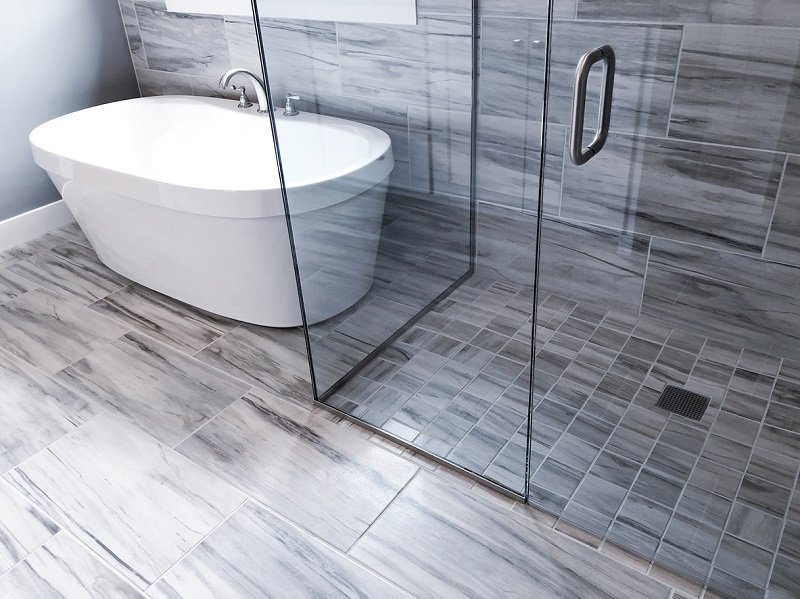
Uneven bathroom floors can cause a range of issues, from water pooling to cracked tiles and even tripping hazards. Using a bathroom floor leveling compound is an effective way to create a smooth, stable surface before installing new flooring. This guide explains how these compounds work, when to use them, and how to achieve the best results for your bathroom renovation.
Whether you’re planning to lay tile, vinyl, or another type of flooring, understanding the basics of floor leveling is crucial. We’ll cover the types of compounds available, key steps for proper application, and tips for choosing the right product for your needs. If you’re looking for more comprehensive advice on selecting the ideal bathroom flooring, the Bathroom flooring buyer’s guide is a helpful resource to consult early in your planning process.
Understanding Self-Leveling Compounds for Bathroom Floors
A bathroom floor leveling compound is a cement-based product designed to flow and settle into a flat, even surface. These compounds are commonly used to correct minor dips, slopes, or imperfections in concrete or wooden subfloors before installing new flooring materials. They are especially valuable in bathrooms, where moisture resistance and a level surface are essential for long-term durability.
Most self-leveling products are mixed with water and poured onto the prepared subfloor. The mixture spreads out and finds its own level, filling in low spots and smoothing out irregularities. Once cured, the surface is ready for tile, vinyl, laminate, or other bathroom flooring options.
When to Use a Floor Leveler in the Bathroom
There are several situations where applying a leveling compound is recommended:
- Uneven subfloors: If your bathroom floor has visible dips, humps, or slopes, a leveling product can create a flat base for new flooring.
- Preparing for tile or vinyl: Both tile and vinyl require a smooth, stable surface to prevent cracking or shifting over time.
- Repairing water damage: Bathrooms are prone to moisture issues. After repairing leaks or water damage, a leveling compound can restore the subfloor to a usable condition.
- Transitioning between materials: If you’re joining two different flooring types (such as tile and wood), a leveler helps create a seamless transition.
For those considering layering new materials over existing floors, such as layering vinyl over tile in bathroom, ensuring the base is level is a critical first step.
Types of Leveling Compounds for Bathroom Projects
There are several types of floor leveling products suitable for bathrooms. Choosing the right one depends on your subfloor material, the extent of unevenness, and the type of flooring you plan to install.
- Self-leveling underlayment: This is the most common type for bathrooms. It’s ideal for correcting minor imperfections (up to 1 inch deep) and works well over concrete or plywood.
- Feather finish compounds: These are used for very thin applications, such as smoothing out small cracks or feathering edges. They dry quickly and are suitable for prepping surfaces before tile or vinyl.
- Deep fill or patching compounds: If your floor has deeper dips or holes, these products can fill areas up to several inches deep. They are often used in combination with self-leveling underlayment for best results.
Always check the manufacturer’s instructions to ensure compatibility with your subfloor and chosen flooring material. For more on selecting cost-effective solutions, see the most affordable bathroom flooring options.
Preparing the Bathroom Floor for Leveling
Proper preparation is essential for a successful application. Here’s how to get your bathroom ready:
- Remove old flooring: Take up any existing tile, vinyl, or laminate. Clean the subfloor thoroughly to remove dust, debris, and adhesive residue.
- Repair damage: Fix any loose boards, fill large holes, and address moisture issues. The subfloor should be dry and structurally sound before proceeding.
- Prime the surface: Most leveling compounds require a primer to help the mixture bond to the subfloor. Apply according to the product’s instructions and allow to dry.
- Seal edges and gaps: Use foam tape or caulk to seal around drains, walls, and fixtures to prevent the compound from leaking into unwanted areas.
Taking the time to prepare properly will help ensure your new bathroom floor is both level and long-lasting.
How to Apply a Self-Leveling Compound in Your Bathroom
Applying a bathroom floor leveling compound is a manageable DIY project for many homeowners. Here’s a step-by-step overview:
- Mix the compound: Follow the manufacturer’s instructions carefully. Use clean water and mix until smooth, avoiding lumps.
- Pour and spread: Starting at the farthest point from the door, pour the mixture onto the floor. Use a gauge rake or trowel to help spread the compound evenly.
- Let it settle: The compound will naturally flow and level itself. Work quickly, as most products begin to set within 10–20 minutes.
- Remove air bubbles: Use a spiked roller to eliminate trapped air and ensure a smooth finish.
- Allow to cure: Drying times vary, but most floors are ready for light foot traffic in 4–6 hours and for flooring installation after 24 hours.
Always ventilate the bathroom well during application and curing. Wear gloves and follow safety guidelines provided by the manufacturer.
Choosing the Right Leveling Product for Your Floor
When selecting a leveling compound, consider the following:
- Subfloor type: Some products are formulated specifically for concrete, while others are suitable for plywood or mixed surfaces.
- Moisture resistance: Bathrooms are high-moisture areas, so choose a compound rated for wet environments.
- Depth of application: Check the maximum and minimum thickness the product can handle in a single pour.
- Compatibility: Ensure the compound is compatible with your chosen flooring (tile, vinyl, laminate, etc.).
For inspiration on design and material selection, explore these modern bathroom flooring ideas that work well with a properly leveled surface.
Maintenance and Longevity of Leveled Bathroom Floors
A properly installed leveling compound can last for decades, especially when paired with quality flooring. To maximize longevity:
- Address leaks and moisture promptly to prevent subfloor damage.
- Use mats or rugs in high-traffic or wet areas.
- Clean floors regularly with appropriate products for your flooring type.
For more on durability, see how long does bathroom flooring last by material.
Frequently Asked Questions
Can I use a floor leveling compound over old tiles?
In most cases, it’s best to remove old tiles before applying a leveling product. However, some compounds are designed to bond with existing tile if the surface is clean, stable, and properly primed. Always check the product’s instructions for compatibility.
How thick can I apply a self-leveling compound in the bathroom?
Most standard self-leveling underlayments can be applied up to 1 inch thick per pour. For deeper fills, use a patching compound first, then finish with a self-leveler. Always follow the manufacturer’s guidelines for maximum thickness.
How long should I wait before installing new flooring?
Drying times vary by product and environmental conditions, but most compounds are ready for light foot traffic after 4–6 hours and for flooring installation after 24 hours. Check the instructions for specific curing times.
Is it necessary to use a primer before applying the leveling compound?
Yes, priming the subfloor is crucial for proper adhesion and to prevent issues like bubbling or poor bonding. Use the primer recommended by the compound manufacturer for best results.
What type of flooring can I install over a leveled bathroom floor?
Once the surface is smooth and dry, you can install tile, vinyl, laminate, or even engineered wood, depending on your preferences and moisture exposure in the bathroom.