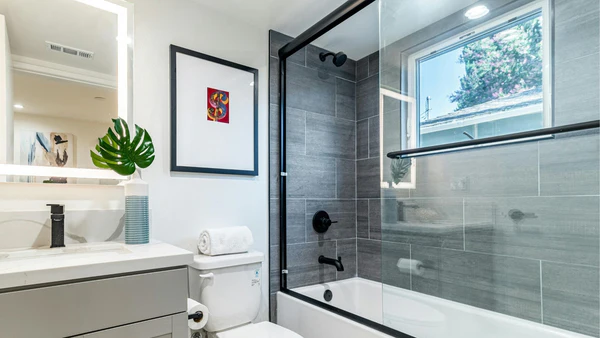
Proper waterproofing a bathroom is one of the most important steps in any renovation or new build. Bathrooms are constantly exposed to moisture, steam, and splashes, making them especially vulnerable to leaks, mold, and water damage. Skipping or rushing this process can lead to expensive repairs and health hazards down the line. Whether you’re a homeowner planning a DIY upgrade or working with a contractor, understanding the essentials of moisture protection will help you achieve a durable, safe, and long-lasting result.
This guide covers the key steps, materials, and best practices for creating a watertight bathroom. You’ll also find practical tips, common mistakes to avoid, and answers to frequently asked questions. For those looking to protect their investment even further, check out these bathroom renovation maintenance tips to keep your space in top condition for years to come.
Why Moisture Protection Matters in Bathrooms
Bathrooms are high-humidity environments. Without effective moisture barriers, water can seep into walls, floors, and substructures, causing rot, mildew, and even structural damage. Over time, this can compromise the integrity of your home and create unhealthy living conditions. Proper waterproofing ensures that water stays where it belongs—inside the tub, shower, or sink—and not in your walls or under your tiles.
Some of the most common issues caused by poor moisture control include:
- Mold and mildew growth, which can trigger allergies and respiratory problems
- Peeling paint, warped wood, and crumbling drywall
- Loose or cracked tiles due to moisture weakening the adhesive
- Costly repairs to subfloors, joists, and framing
Investing in quality waterproofing materials and techniques from the start is the best way to prevent these problems.
Essential Steps for Waterproofing Bathroom Surfaces
Creating a watertight bathroom involves several layers of protection. Here’s a step-by-step overview of the process:
- Preparation: Start by cleaning and drying all surfaces thoroughly. Remove any dust, debris, or old adhesive. Repair cracks or holes in the substrate to ensure a smooth, even base.
- Priming: Apply a suitable primer to porous surfaces like cement board or concrete. This helps the waterproofing membrane adhere properly and prevents future peeling.
- Sealing Joints and Corners: Use waterproof tape or a flexible sealant to reinforce corners, seams, and joints where walls meet floors or tubs. These are common points of failure if not properly protected.
- Applying the Membrane: Use a liquid or sheet membrane designed for wet areas. Liquid membranes can be brushed or rolled on, while sheet membranes are applied in large sections. Overlap seams and ensure full coverage, especially around fixtures and penetrations.
- Detailing Around Fixtures: Pay special attention to areas around drains, faucets, and showerheads. Use gaskets or collars as needed to prevent leaks.
- Allowing Proper Curing Time: Follow the manufacturer’s instructions for drying and curing. Rushing this step can compromise the effectiveness of the barrier.
- Tiling and Grouting: Once the membrane is fully cured, you can install tiles using a waterproof adhesive. Use epoxy or waterproof grout for added protection.
Each step is crucial for long-term durability. Skipping or cutting corners can result in leaks and damage that may not show up until months or years later.
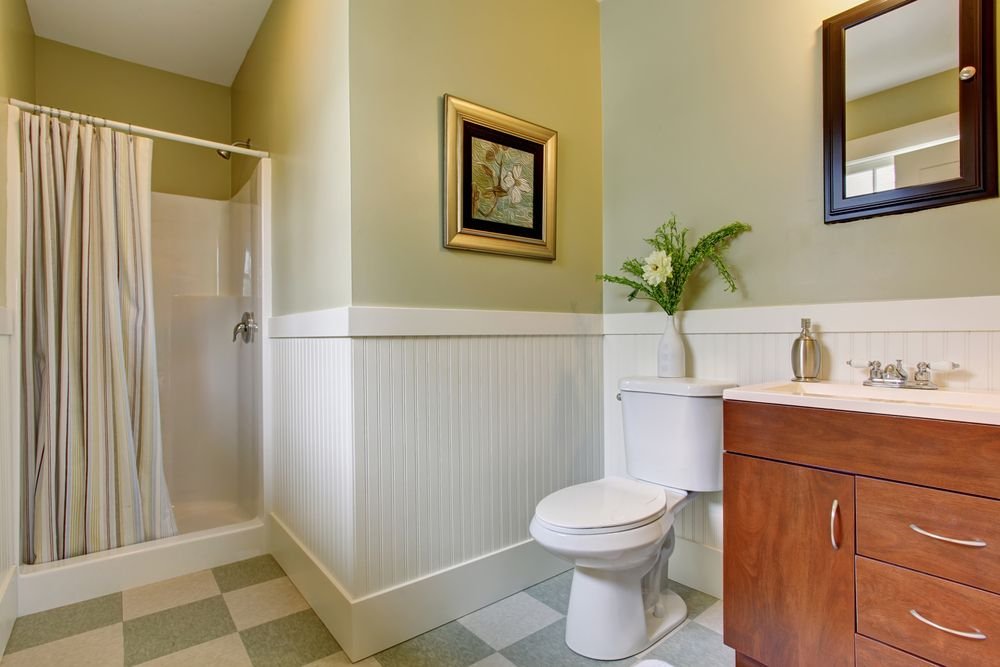
Choosing the Right Materials for a Watertight Bathroom
Not all products are created equal when it comes to moisture protection. Here are the most common materials used in bathrooms:
- Liquid Waterproofing Membranes: These are easy to apply and ideal for irregular surfaces. They form a seamless, flexible barrier that resists cracking.
- Sheet Membranes: Made from materials like polyethylene or bituminous compounds, these are rolled out and adhered to surfaces. They offer excellent protection for large, flat areas.
- Waterproof Backer Boards: Cement boards or foam panels are installed behind tiles to provide a stable, moisture-resistant base.
- Sealants and Tapes: Used to reinforce corners, seams, and pipe penetrations. Look for products specifically rated for wet areas.
When selecting materials, always check for certifications and compatibility with your chosen tile and adhesive. Using a complete system from a single manufacturer can help ensure all components work together effectively.
Common Mistakes to Avoid When Sealing Your Bathroom
Even with the right products, mistakes during installation can lead to leaks and failures. Here are some pitfalls to watch out for:
- Insufficient Surface Preparation: Failing to clean and repair surfaces can prevent membranes from adhering properly.
- Missing Critical Areas: Overlooking corners, niches, or areas around plumbing fixtures is a frequent cause of leaks.
- Improper Overlapping: Not overlapping sheet membranes or tape as instructed can leave gaps in protection.
- Rushing the Curing Process: Not allowing enough time for membranes to cure before tiling can compromise the barrier.
- Using the Wrong Products: Applying non-waterproof adhesives or grouts can undermine the entire system.
For more advice on avoiding renovation pitfalls, see these common bathroom renovation mistakes highlighted by industry experts.
Where to Focus Your Waterproofing Efforts
While every surface exposed to moisture should be protected, some areas require extra attention:
- Showers and Bathtubs: These are the wettest zones and should be fully sealed from floor to ceiling, including niches and benches.
- Floors: Especially around drains and under freestanding tubs. Water can easily seep through grout lines and subfloors.
- Walls Adjacent to Fixtures: Splash zones near sinks, toilets, and bidets should be covered with a waterproof membrane.
- Window and Door Frames: Any penetrations in the wall are potential entry points for moisture and must be sealed carefully.
For a more accurate estimate of the materials you’ll need, try a bathroom renovation material calculator to help plan your project efficiently.
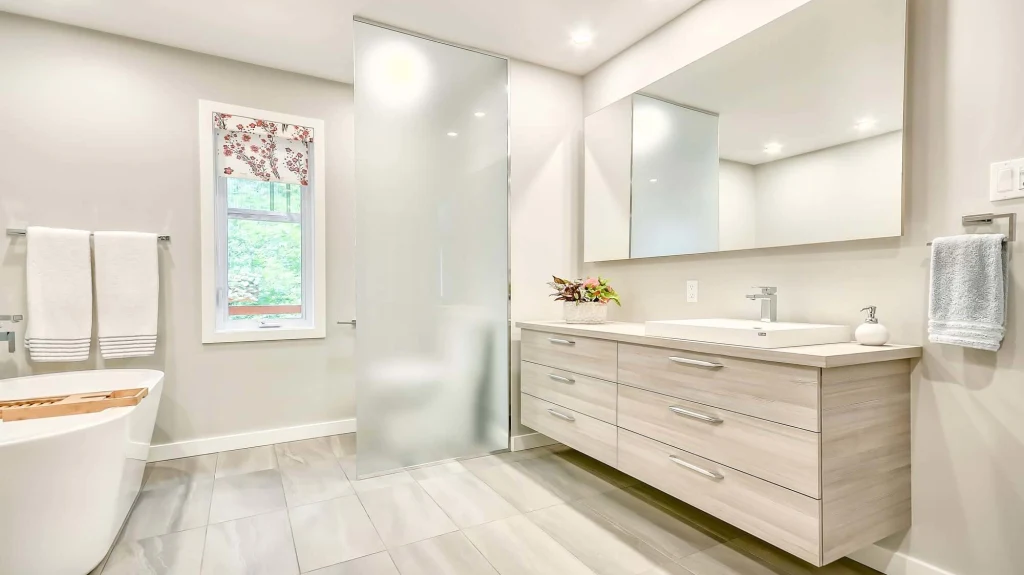
Tips for DIYers and When to Call a Professional
Many homeowners tackle bathroom upgrades themselves, but moisture protection requires careful attention to detail. If you’re confident in your skills, follow manufacturer instructions closely and don’t skip any steps. However, if your project involves moving plumbing, working with structural elements, or you’re unsure about the process, hiring a licensed contractor is a wise investment.
Professional installers have access to specialized tools and materials, and their work is often backed by warranties. This can provide peace of mind and help avoid costly mistakes. For those interested in adding a personal touch, explore some diy bathroom decor projects that can be completed safely after the main renovation is finished.
Maintaining Your Waterproofed Bathroom
Even the best waterproofing job needs regular maintenance to stay effective. Here are some simple habits to keep your bathroom protected:
- Inspect grout and caulk lines periodically for cracks or gaps and repair them promptly.
- Keep ventilation fans clean and running during and after showers to reduce humidity.
- Wipe down wet surfaces to prevent standing water from seeping into joints.
- Check for signs of mold or mildew and address them immediately.
For more advice on keeping your space in top shape, see these bathroom renovation maintenance tips.
Frequently Asked Questions
How long does it take to waterproof a bathroom?
The process typically takes two to four days, depending on the size of the space, the products used, and drying times between coats. Always follow the manufacturer’s instructions for curing before tiling or using the area.
Can I waterproof over old tiles?
It’s not recommended to apply waterproofing membranes directly over old tiles. For best results, remove existing tiles and adhesives, repair the substrate, and start with a clean, stable surface.
What areas should never be skipped during waterproofing?
Never skip corners, joints, and areas around drains and fixtures. These are the most common points of failure and require special attention with sealant or tape before applying the main membrane.
Is waterproofing required by code?
In most regions, building codes require waterproofing in wet areas like showers and around bathtubs. Always check your local regulations before starting a renovation.
What’s the difference between water-resistant and waterproof?
Water-resistant materials can handle occasional splashes but may not prevent water from seeping through over time. Waterproof materials create a complete barrier, blocking all moisture from passing through.