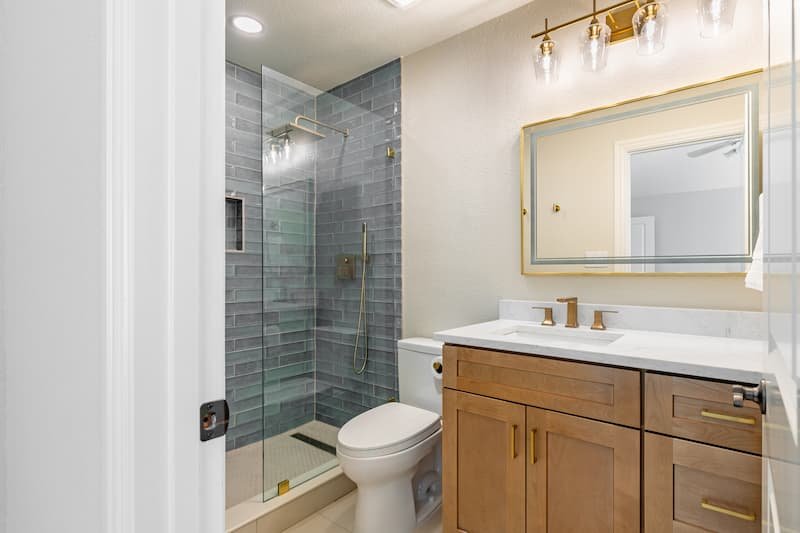
Proper ventilation is essential for maintaining a healthy and comfortable bathroom environment. Without an effective exhaust fan, moisture can build up, leading to mold growth, peeling paint, and lingering odors. Installing bathroom exhaust fan systems is a practical project that can significantly improve air quality and protect your home from moisture-related damage.
This article provides a step-by-step approach to adding or replacing a bathroom ventilation fan. Whether you’re updating an old unit or tackling a full remodel, understanding the process and best practices will help you achieve professional results and long-lasting performance.
Before you begin, it’s helpful to ensure your bathroom layout supports proper fan placement. For tips on measuring and planning your space, see measuring bathroom space correctly for accurate remodel planning.
Why Proper Ventilation Matters in Bathrooms
Bathrooms are naturally humid spaces. Every shower or bath releases moisture into the air, and without a way to expel it, that humidity can cause a range of issues. Mold and mildew thrive in damp conditions, and excess moisture can damage drywall, wood, and fixtures. A well-installed exhaust fan helps:
- Prevent mold growth by reducing humidity
- Protect paint, wallpaper, and cabinetry from peeling or warping
- Eliminate lingering odors
- Improve overall air quality for a healthier home
Choosing the right fan and installing it correctly ensures these benefits are fully realized.
Choosing the Right Exhaust Fan for Your Bathroom
Before starting the installation, select a fan that matches your bathroom’s size and needs. Key factors include:
- CFM (Cubic Feet per Minute): This measures the fan’s airflow. A standard guideline is 1 CFM per square foot of bathroom space. For example, a 60 square foot bathroom needs a fan rated at least 60 CFM.
- Sones: This rating indicates noise level. Lower sones mean quieter operation. Look for fans rated at 1.5 sones or less for a peaceful bathroom experience.
- Features: Some fans include lights, humidity sensors, or heaters. Consider your preferences and budget.
Make sure the fan you choose is rated for bathroom use and, if possible, for installation over a shower or tub if needed.
Tools and Materials Needed for Installing Bathroom Exhaust Fan
Gather the following tools and materials before you begin:
- New exhaust fan kit (with duct and vent cover)
- Screwdriver and drill
- Drywall saw or utility knife
- Wire stripper and electrical tape
- Flexible ducting and duct tape
- Roof or wall vent cap
- Safety glasses and dust mask
- Ladder or step stool
Always turn off power at the circuit breaker before working with electrical wiring. If you’re unsure about electrical work, consult a licensed electrician.

Step-by-Step Guide to Installing a Bathroom Fan
Follow these steps for a safe and effective installation:
1. Remove the Old Fan (If Applicable)
If you’re replacing an existing fan, start by removing the cover and disconnecting the wiring. Unscrew the housing from the ceiling joists and carefully lower it out. Take note of the wiring connections and duct placement for reference.
2. Prepare the Ceiling Opening
Use the template provided with your new fan to mark the ceiling. Cut the opening with a drywall saw, ensuring it’s large enough for the new housing but not oversized. Check for any obstructions like pipes or wires before cutting.
3. Install the Fan Housing
Secure the fan housing to the ceiling joists using the provided brackets or screws. The housing should sit flush with the ceiling surface. If you’re working in an attic, you may have easier access to secure the unit from above.
4. Connect the Ductwork
Attach flexible ducting to the fan’s exhaust port and run it to the exterior vent. Use duct tape to seal all joints and prevent air leaks. The duct should be as straight and short as possible to maximize airflow and minimize noise.

5. Wire the Fan
Connect the electrical wires according to the manufacturer’s instructions. Typically, you’ll match black to black (hot), white to white (neutral), and green or bare to ground. Use wire nuts and electrical tape for secure connections. Restore power and test the fan before closing up the ceiling.
6. Attach the Grille and Test
Snap the grille or cover into place. Turn on the fan and check for proper operation. Hold a tissue near the grille—if it’s pulled toward the fan, airflow is sufficient. Listen for excessive noise, which may indicate loose ducting or an unbalanced fan.
Common Mistakes to Avoid When Adding a Ventilation Fan
Even experienced DIYers can run into issues when installing a new exhaust system. Here are some pitfalls to watch for:
- Ventilating into the attic instead of outside, which can cause moisture problems elsewhere in the home
- Using undersized ducting, restricting airflow
- Skipping proper sealing of duct joints, leading to leaks
- Incorrect wiring, which can be a safety hazard
- Not following local building codes
For a broader look at renovation pitfalls, see these common DIY bathroom remodeling mistakes to avoid.
Tips for Maintaining Your Bathroom Fan
Once your fan is installed, regular maintenance will help it last longer and work efficiently:
- Clean the grille every few months to remove dust buildup
- Check the duct and vent cap annually for blockages
- Listen for unusual noises, which may indicate a problem
- Replace the fan if it becomes noisy or fails to clear humidity effectively
Proper care will keep your bathroom dry and fresh for years to come.
Integrating Ventilation With Your Bathroom Remodel
If you’re planning a full renovation, consider how your new fan will fit with other updates. Good ventilation complements improvements like diy bathroom decor projects or a bathroom remodel under $1000. Upgrading your exhaust system can also add value to your home and protect your investment in new finishes and fixtures.
For those working with a tight budget, integrating a new fan into your plans is a smart way to maximize the impact of your remodel.
Frequently Asked Questions
Do I Need a Permit to Install a Bathroom Exhaust Fan?
Permit requirements vary by location. In many areas, replacing an existing fan does not require a permit, but adding new wiring or cutting a vent through the roof or wall may. Always check with your local building department before starting work.
Can I Vent a Bathroom Fan Into the Attic?
No, bathroom fans should always vent to the outside. Venting into the attic can lead to moisture buildup, mold, and structural damage. Use a dedicated roof or wall vent for safe and effective moisture removal.
How Do I Know What Size Fan I Need?
Calculate the square footage of your bathroom and match it to the fan’s CFM rating (1 CFM per square foot is a good rule of thumb). For bathrooms with high ceilings or extra moisture (like those with a steam shower), consider a higher CFM rating or a fan with a humidity sensor.
Conclusion
Adding or replacing a bathroom exhaust fan is a manageable project for most homeowners. By following best practices and taking the time to plan, you can ensure your bathroom stays dry, fresh, and protected from moisture damage. If you’re interested in more renovation ideas or budget-friendly upgrades, explore topics like thrifted bathroom makeover ideas or bathroom renovation financing tips for further inspiration.