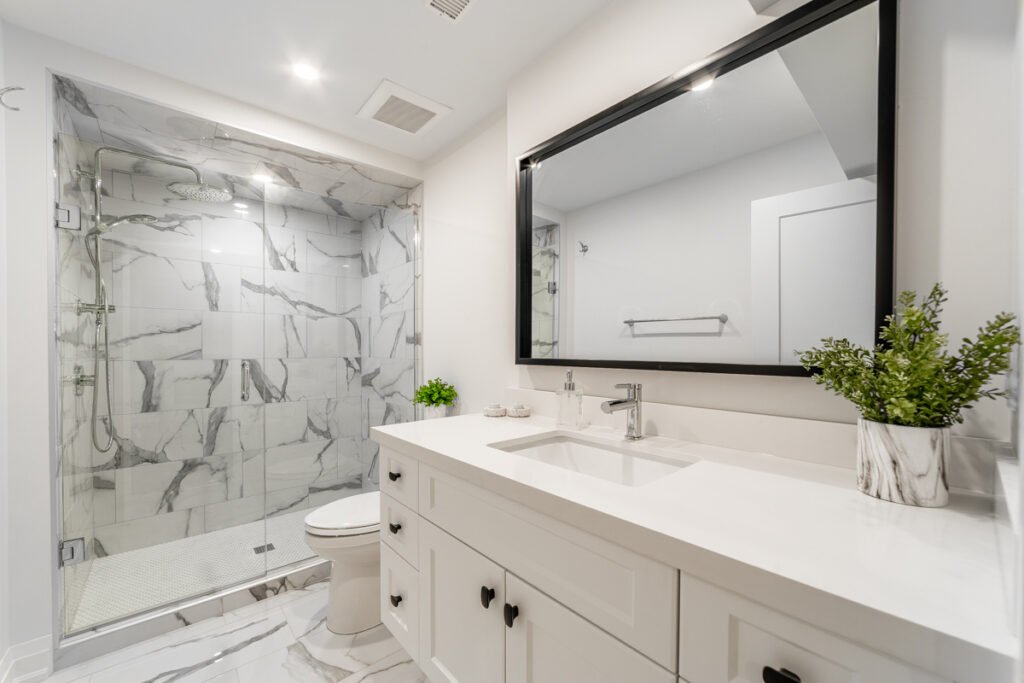
Taking on diy shower waterproofing can save you money and help you achieve a long-lasting, leak-free bathroom. However, getting it right the first time is crucial—mistakes can lead to water damage, mold, and expensive repairs down the road. This guide offers a step-by-step approach to waterproofing your shower, from preparation to finishing touches, so you can feel confident tackling this essential home improvement project.
Before you start, it’s important to understand the basics of moisture protection and why every detail matters. Even small gaps or missed spots can compromise the entire system. If you’re planning a broader renovation, you may also want to review bathroom renovation maintenance tips to ensure your investment stands the test of time.
Why Proper Shower Waterproofing Matters
Waterproofing is the foundation of a durable and healthy bathroom. Showers are exposed to daily moisture, and without a robust barrier, water can seep into walls and floors, causing hidden rot, mold, and structural issues. By following best practices for diy shower waterproofing, you protect your home and avoid costly repairs in the future.
Effective waterproofing also supports the longevity of your tiles, grout, and fixtures. It’s not just about keeping water out—it’s about creating a system that channels moisture safely to the drain, preventing leaks and ensuring a clean, dry environment.
Essential Tools and Materials for DIY Waterproofing
Before you begin, gather all necessary supplies. Having the right materials on hand will streamline the process and help you achieve a professional result. Here’s what you’ll typically need:
- Waterproofing membrane (liquid or sheet type)
- Waterproofing tape or banding for corners and seams
- Primer (if required by membrane system)
- Paint roller, brush, or trowel (for liquid membrane)
- Utility knife or scissors (for sheet membrane)
- Caulk or sealant (silicone or polyurethane)
- Measuring tape and pencil
- Protective gloves and mask
Check the manufacturer’s instructions for your chosen products, as some systems have unique requirements. Investing in quality materials is key to a successful waterproofing job.
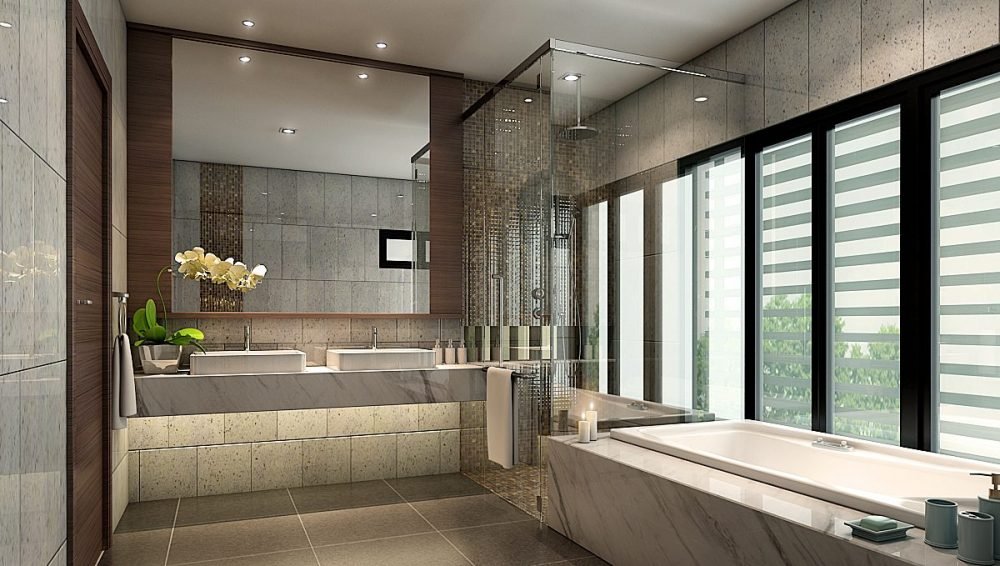
Step-by-Step Guide to Waterproofing Your Shower
1. Prepare the Surface
Start by thoroughly cleaning the shower walls and floor. Remove any dust, debris, or old adhesive. Surfaces should be dry, smooth, and free of cracks. Repair any holes or imperfections with suitable filler and let it cure completely.
Apply primer if your waterproofing system requires it. This step ensures better adhesion and a more reliable seal.
2. Seal Joints and Corners
Pay special attention to corners, seams, and transitions between walls and floors. Apply waterproofing tape or banding along all joints. Press firmly to eliminate bubbles or gaps. Use a compatible sealant to fill any small cracks or penetrations, such as around plumbing fixtures.
3. Apply the Waterproofing Membrane
Follow the manufacturer’s instructions for your chosen membrane. For liquid membranes, use a roller or brush to apply an even coat over the entire shower area, including walls up to at least 6 feet and the floor. Overlap onto the tape and ensure complete coverage.
For sheet membranes, measure and cut pieces to fit, then adhere them to the surface, smoothing out wrinkles. Overlap seams by the recommended amount and use additional tape or sealant as needed.
Allow the first coat to dry fully before applying a second coat, if required. Most systems need at least two coats for optimal protection.
4. Inspect and Test
Once the membrane is dry, inspect all areas for missed spots or thin coverage. Touch up as needed. Some experts recommend a flood test: plug the drain, fill the shower pan with water, and check for leaks after 24 hours. This step is especially important for tiled showers.

Common Mistakes to Avoid in DIY Shower Waterproofing
Even experienced DIYers can make errors that compromise waterproofing. Here are some of the most frequent pitfalls:
- Skipping surface preparation or not letting surfaces dry completely
- Missing corners, seams, or transitions
- Applying membrane too thinly or unevenly
- Not overlapping seams or failing to seal penetrations
- Rushing between coats or not allowing proper drying time
Take your time and follow each step carefully. If you’re unsure, consult product instructions or seek advice from professionals. For more inspiration and planning help, check out these expert tips for planning your perfect bathroom renovation.
Aftercare and Maintenance for a Waterproofed Shower
Once your shower is waterproofed and finished, ongoing care is essential. Regularly inspect grout lines, caulk, and tile surfaces for signs of wear or damage. Promptly repair any cracks or gaps to maintain the integrity of your waterproofing system.
Good ventilation helps prevent mold and mildew. Use an exhaust fan during and after showers, and keep the area as dry as possible. For more ideas on keeping your bathroom in top shape, explore diy bathroom decor projects that can enhance both function and style.
Frequently Asked Questions
How long does it take to waterproof a shower?
The process typically takes two to three days, allowing for surface prep, membrane application, and drying time between coats. Always follow the drying times specified by your membrane manufacturer for best results.
Can I waterproof over existing tiles?
It’s not recommended to apply waterproofing over old tiles. For effective results, remove tiles and start with a clean, sound substrate. This ensures the membrane adheres properly and provides a reliable barrier.
What’s the difference between liquid and sheet membranes?
Liquid membranes are brushed or rolled on and conform to any shape, making them ideal for complex surfaces. Sheet membranes are pre-formed and adhered to the surface, offering consistent thickness and quick installation, especially on flat areas. Both can be effective if installed correctly.
Final Thoughts
Completing your own diy shower waterproofing project is a practical way to protect your home and add value to your bathroom. By following each step carefully and using quality materials, you can achieve professional-level results and enjoy peace of mind for years to come. For more tips on budgeting and planning, see our guide to bathroom renovation financing tips and keep your project on track from start to finish.