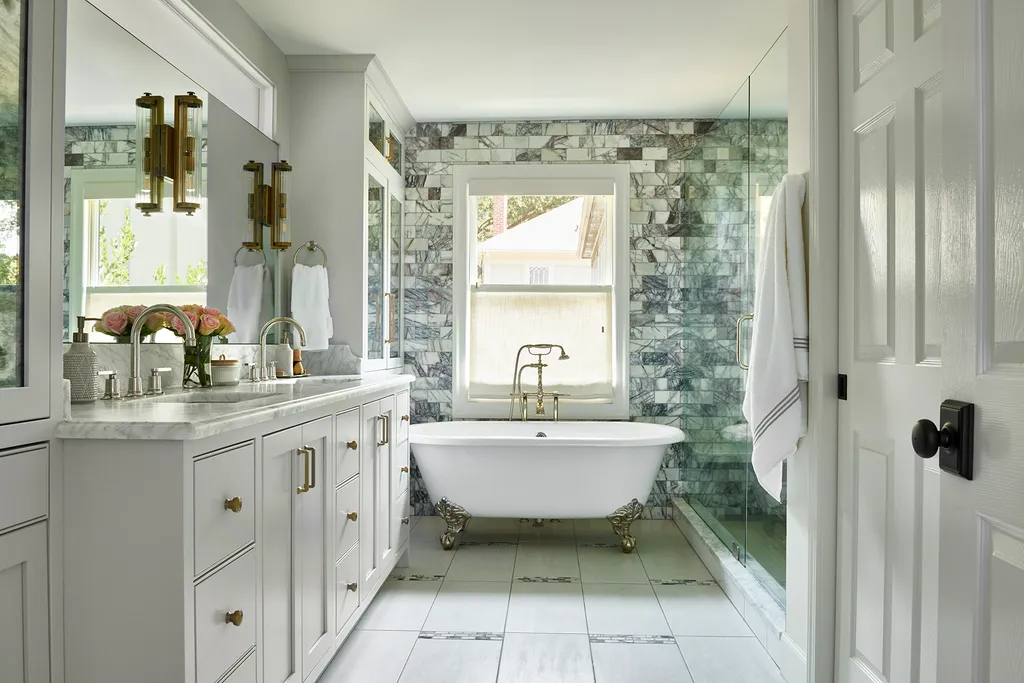
Upgrading your bathroom with a new mirror can instantly refresh the space and enhance both its style and functionality. However, achieving a seamless, professional look requires careful planning and the right approach. Whether you’re updating a small powder room or tackling a full renovation, understanding the essentials of bathroom mirror installation will help you avoid common pitfalls and ensure a polished result.
Before you start, it’s important to consider the size, placement, and type of mirror that best fits your bathroom’s layout. Taking accurate measurements and preparing your wall surface are key steps for a successful project. If you’re also planning a larger remodel, you might find it helpful to review advice on measuring bathroom space correctly to ensure your new mirror integrates perfectly with other elements.
Choosing the Right Mirror for Your Space
The first step in any mirror upgrade is selecting a style and size that complements your bathroom. Consider the following factors:
- Size: The mirror should be proportional to your vanity and wall. A common guideline is to choose a mirror that is a few inches narrower than the vanity for balance.
- Shape: Rectangular mirrors offer a classic look, while round or oval options can soften the space. Frameless mirrors provide a modern touch, and framed versions add character.
- Functionality: Think about features like built-in lighting, anti-fog technology, or storage if you need extra convenience.
Take time to browse different options and visualize how each would fit with your tiles, fixtures, and overall design. If you’re working with a tight budget, you might also find inspiration in thrifted bathroom makeover ideas for unique and affordable finds.
Preparation: Measuring and Planning
Proper preparation is essential for a smooth mirror installation. Begin by measuring the wall area above your vanity or sink. Mark the desired height and width, keeping in mind the following tips:
- Center the mirror above the sink or vanity for symmetry.
- Allow at least 5-10 inches between the bottom of the mirror and the top of the faucet.
- Check for light fixtures, outlets, and switches that could interfere with placement.
Use a level to ensure your markings are straight. If your wall is tiled, locate grout lines and plan your anchor points accordingly to avoid cracking tiles. For larger mirrors, enlist a helper to hold the mirror in place while you check alignment.
Essential Tools and Materials
Gathering the right tools before you begin will save time and reduce frustration. For most bathroom mirror installation projects, you’ll need:
- Measuring tape and pencil
- Level
- Drill and appropriate drill bits (masonry bit for tile, standard for drywall)
- Wall anchors or toggle bolts
- Screws
- Mirror clips, brackets, or adhesive (depending on mirror type)
- Stud finder
- Safety goggles and gloves
Check the manufacturer’s instructions for any additional hardware or recommendations specific to your mirror model.
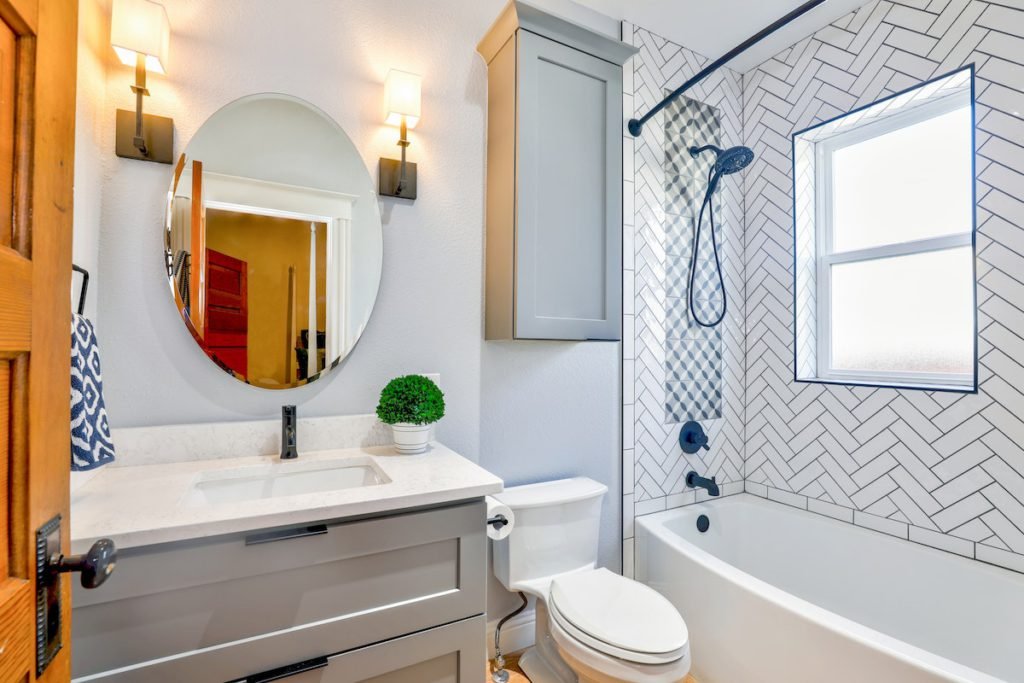
Step-by-Step Guide to Hanging Your Mirror
Follow these steps to ensure a secure and attractive installation:
- Mark the Position: Use your measurements to outline the mirror’s placement on the wall. Double-check with a level.
- Locate Studs: Use a stud finder to identify support behind the wall. Anchoring into studs is ideal for heavy mirrors. If studs aren’t available, use appropriate wall anchors.
- Install Hardware: For mirrors with brackets or clips, drill pilot holes at your marked points. Insert anchors if needed, then attach the hardware securely.
- Apply Adhesive (if applicable): For frameless or flush-mounted mirrors, use a high-quality mirror adhesive. Apply in vertical strips, not dots, to allow air circulation and prevent warping.
- Mount the Mirror: With a helper, carefully lift the mirror into position. Secure it to the wall using the installed hardware or press firmly if using adhesive. Hold in place as directed by the adhesive manufacturer.
- Check Alignment: Step back and confirm the mirror is level and centered. Make any minor adjustments before the adhesive sets or hardware is fully tightened.
Allow adhesives to cure fully before using the bathroom or cleaning the mirror. This prevents shifting and ensures a lasting hold.
Common Mistakes to Avoid
Even experienced DIYers can run into trouble with mirror mounting. Here are some pitfalls to watch out for:
- Skipping the level check, resulting in a crooked mirror
- Using the wrong anchors for your wall type
- Overtightening screws, which can crack glass or frames
- Neglecting to check for electrical wires or plumbing behind the wall
- Applying adhesive incorrectly, leading to poor adhesion or damage
For more insights on what to avoid during a bathroom upgrade, see this list of common DIY bathroom remodeling mistakes.
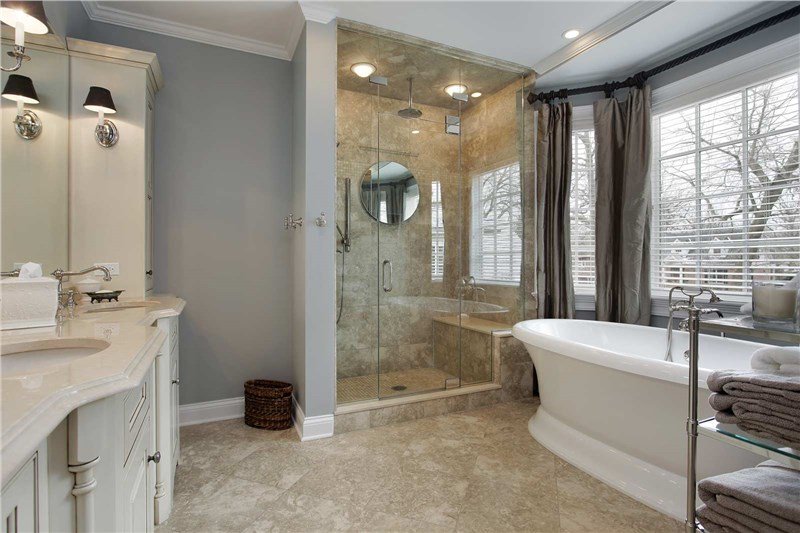
Finishing Touches and Maintenance
Once your mirror is securely in place, take a few extra steps to complete the look:
- Seal edges with a thin bead of silicone caulk if moisture is a concern, especially near showers or sinks.
- Clean the mirror with a non-abrasive glass cleaner and a soft cloth to remove fingerprints and dust.
- Consider adding accent lighting, such as sconces or LED strips, for improved visibility and ambiance.
Regularly check mounting hardware for any signs of loosening, especially in high-traffic bathrooms. If you’re interested in more ways to personalize your space, explore DIY bathroom decor projects that pair well with your new mirror.
Frequently Asked Questions
What’s the best way to hang a heavy bathroom mirror?
For large or heavy mirrors, always use wall anchors rated for the mirror’s weight or secure the mirror directly into wall studs. Brackets or French cleats provide extra support and stability. Avoid relying solely on adhesive for heavy mirrors.
Can I install a mirror over tile?
Yes, you can mount a mirror over tile, but it’s important to use a masonry drill bit and appropriate anchors. Drilling into grout lines is easier than tile, but always proceed with caution to avoid cracking. Adhesive can also be used for frameless mirrors, but ensure the surface is clean and dry.
How do I prevent my bathroom mirror from fogging up?
Consider choosing a mirror with built-in anti-fog features or install a heated mirror pad. Good ventilation and using a shower filter can also help reduce steam and keep your mirror clear.
Are there budget-friendly ways to update my bathroom mirror?
Absolutely. You can frame an existing mirror, use decorative adhesive film, or shop for secondhand mirrors. For more inspiration, check out bathroom remodel under $1000 for creative, cost-effective ideas.
Conclusion
With the right preparation and attention to detail, installing a new mirror can be a straightforward and rewarding DIY project. By following these practical tips and avoiding common mistakes, you’ll achieve a result that enhances both the look and functionality of your bathroom. For those planning a larger renovation, don’t forget to review bathroom renovation financing tips to help you budget smarter and make the most of your investment.