Proper tile installation is essential for achieving a smooth, professional finish in any space. One of the most common issues encountered during this process is lippage—the unevenness between adjacent tiles that creates unsightly and sometimes hazardous edges. Understanding how to avoid lippage in tile installation is crucial for both DIY enthusiasts and professional installers who want to ensure a flawless result.
This guide covers the main causes of lippage, practical steps to prevent it, and expert tips for achieving a perfectly level tiled surface. Whether you’re updating a bathroom, kitchen, or any tiled area, following these recommendations will help you avoid costly mistakes and achieve a beautiful, even floor or wall.

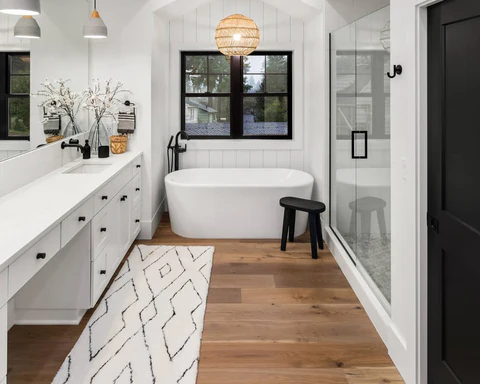
For those planning a bathroom renovation, our bathroom flooring buyer’s guide offers further insights into selecting the right materials and finishes for your project.
Main Causes of Lippage in Tile Projects
To effectively prevent uneven tile surfaces, it’s important to recognize what leads to this problem in the first place. Here are the most common factors:
- Uneven Subfloor: If the surface beneath the tiles isn’t flat, even the best installation techniques can’t compensate for dips or humps.
- Tile Thickness Variations: Inconsistent tile thickness, especially with natural stone or handmade tiles, can result in edges that don’t align.
- Incorrect Mortar Application: Using too much or too little adhesive, or failing to spread it evenly, can cause tiles to sit at different heights.
- Poor Tile Placement: Rushing the placement or not using spacers can lead to misalignment and uneven joints.
- Large Format Tiles: Bigger tiles are more prone to lippage because even minor subfloor imperfections are magnified over a larger area.
Preparing the Surface to Prevent Lippage
Preparation is the foundation of a successful tile installation. Here’s how to get your surface ready:
- Check for Flatness: Use a long straightedge or level to identify high and low spots. The floor or wall should not deviate more than 1/8 inch over 10 feet.
- Level the Substrate: Fill low areas with a self-leveling compound and sand down high spots. For walls, ensure studs are plumb and backer boards are properly installed.
- Clean the Surface: Remove dust, debris, and grease. A clean substrate ensures better mortar adhesion and consistent tile height.
For more tips on choosing the right tile size for your space, check out our guide on selecting bathroom tile size.
Best Practices for Setting Tiles Evenly
Once your surface is ready, careful installation will help you avoid uneven edges. Follow these steps:
- Use Tile Leveling Systems: Modern leveling clips and wedges are designed to keep tiles flush during setting. They are especially useful with large format tiles.
- Apply Consistent Mortar: Use the correct trowel size and hold it at a consistent angle to ensure even mortar coverage. Back-butter large tiles for extra support.
- Install Tiles in Small Sections: Work in manageable areas so you can make adjustments before the mortar sets.
- Check Alignment Frequently: Use a straightedge or laser level to monitor flatness as you go. Adjust tiles as needed before the adhesive cures.
- Use Proper Spacers: Spacers help maintain uniform grout joints and prevent tiles from shifting during installation.
Choosing the Right Materials for a Flat Finish
The materials you select play a significant role in minimizing lippage. Here’s what to consider:
- Tile Quality: Opt for rectified tiles, which are mechanically finished to ensure uniform size and thickness. This reduces the risk of uneven edges.
- Mortar Selection: Use a high-quality, non-sag thinset mortar designed for your tile type and substrate.
- Grout Joint Width: Wider grout lines can help disguise minor height differences, while very narrow joints require near-perfect flatness.
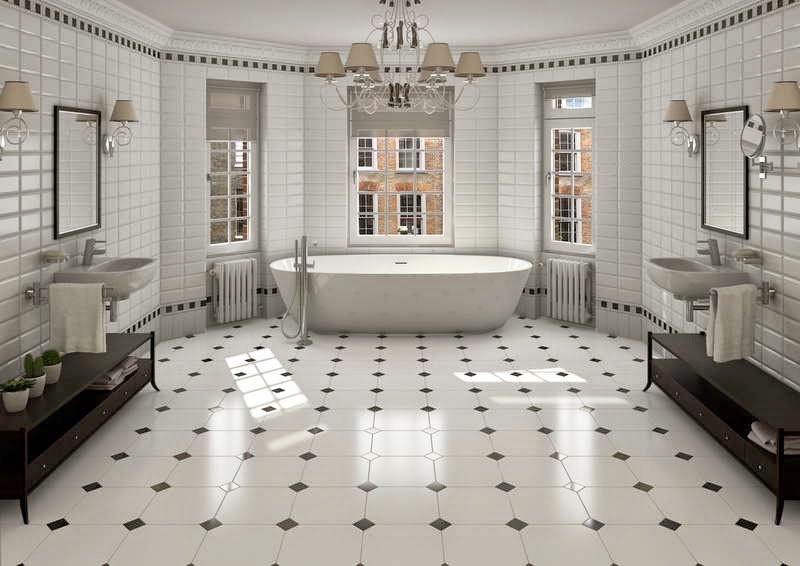
For inspiration on modern bathroom flooring and tile ideas, explore these bathroom flooring ideas from industry experts.
Expert Tips for Preventing Lippage in Tile Installation
Experienced installers rely on a few key strategies to keep tile surfaces smooth and even:
- Stagger Joints Carefully: When using a brick or running bond pattern, avoid 50% offsets with large tiles. Instead, offset by 1/3 or less to reduce height differences at the ends.
- Allow for Movement: Don’t force tiles into position. Let them settle naturally into the mortar bed for a level finish.
- Monitor as You Go: Regularly check for lippage by running your hand or a straightedge across the surface. Make adjustments before the mortar sets.
- Don’t Rush: Take your time, especially with large or heavy tiles. Rushing increases the chance of uneven placement.
Maintaining Your Tiled Surface After Installation
Even after a successful installation, regular care is necessary to keep your tiles looking their best and to ensure the surface remains even over time. Here are some maintenance tips:
- Clean Grout Lines: Dirt and debris can accumulate in grout joints, making unevenness more noticeable. Use appropriate cleaning products and tools.
- Inspect for Movement: Over time, building movement or settling can cause tiles to shift. Address any issues promptly to prevent further problems.
- Use the Right Cleaning Tools: For tile floors, using the best mop for tile floors in bathrooms can help maintain a smooth, attractive finish without damaging grout or tile edges.
Frequently Asked Questions
What is lippage and why is it a problem in tile installations?
Lippage refers to the height difference between adjacent tiles, resulting in uneven edges. It not only affects the appearance of your tiled surface but can also create tripping hazards and make cleaning more difficult.
How can I check if my subfloor is flat enough for tile installation?
Use a long straightedge or level to check for dips and humps. The surface should not deviate more than 1/8 inch over a 10-foot span. If you find significant unevenness, use a self-leveling compound or sand down high spots before tiling.
Are tile leveling systems necessary for all tile installations?
While not mandatory for every project, tile leveling systems are highly recommended for large format tiles or when working on surfaces that are difficult to keep flat. They help ensure a smooth, even finish and reduce the risk of lippage.
Can grout lines help hide minor lippage?
Wider grout joints can sometimes mask slight height differences between tiles, but they are not a substitute for proper installation. Aim for the flattest surface possible and use grout lines as a finishing touch, not a corrective measure.
Conclusion
Achieving a flat, professional-looking tiled surface requires careful planning, the right materials, and attention to detail during installation. By understanding the causes of lippage and following best practices for surface preparation, tile setting, and maintenance, you can create a beautiful, durable finish that stands the test of time. For more advice on tile selection and care, explore our bathroom floor cleaning tips and other helpful resources.