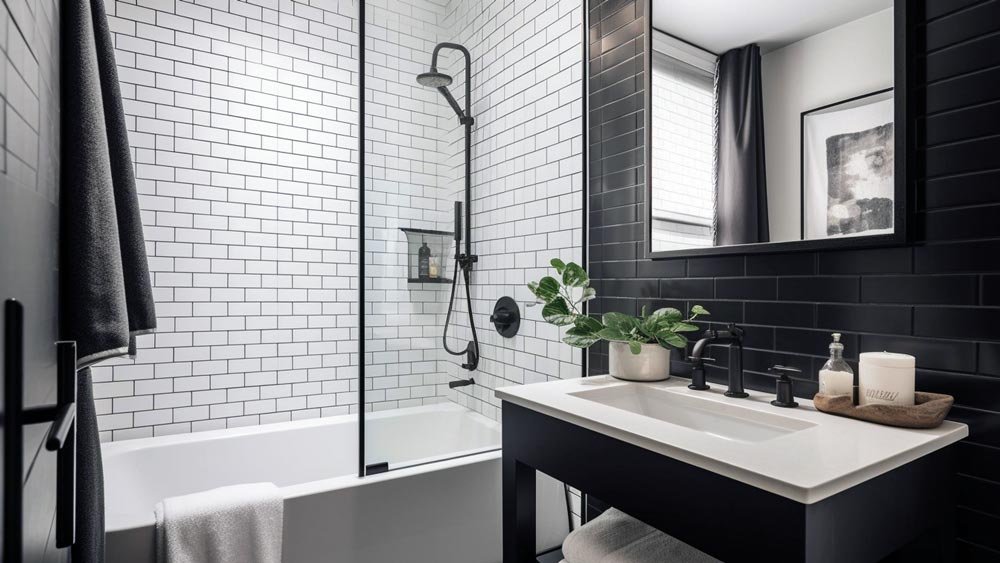
Achieving a polished, long-lasting look in your bathroom starts with careful planning and execution of your bathroom wall tile installation. Whether you’re updating a dated space or tackling a full renovation, the right approach ensures your tiles not only look great but also withstand daily moisture and wear. This guide covers essential steps, expert advice, and common pitfalls to help you get professional results at home.
Before diving into the process, it’s wise to consider how your new tilework fits into your overall renovation plan. For more on keeping your remodel in top shape after installation, check out these bathroom renovation maintenance tips to protect your investment for years to come.
Preparation: Laying the Groundwork for Success
Proper preparation is the foundation of any bathroom wall tile installation project. Skipping these steps can lead to uneven tiles, poor adhesion, and water damage down the line.
- Assess the Surface: Ensure your walls are clean, dry, and free from dust, grease, or old adhesive. Any imperfections should be patched and sanded smooth.
- Plan Your Layout: Measure the area and use a level to draw reference lines. Dry-lay a row of tiles to visualize spacing and minimize awkward cuts at corners or edges.
- Choose the Right Materials: Select tiles rated for wet environments, and use a high-quality waterproof adhesive and grout. Consider tile size and pattern for both aesthetics and ease of installation.
Taking the time to prepare will make the rest of the process smoother and help you avoid common mistakes that can compromise your results.
Essential Tools and Materials for Wall Tiling
Gathering the right tools before you begin will save time and frustration. For a standard wall tiling job, you’ll need:
- Tile cutter or wet saw
- Notched trowel
- Tile spacers
- Level and measuring tape
- Rubber float (for grouting)
- Sponge and bucket
- Adhesive and grout suitable for bathrooms
- Protective gear (gloves, safety glasses)
Some projects may also require a drill with a mixing paddle, tile nippers, or a hole saw for plumbing fixtures. Double-check your supply list before starting to avoid delays.
Step-by-Step Guide to Installing Bathroom Wall Tiles
1. Mark Your Starting Point
Begin tiling at the center of the wall or at a focal point, working outward for symmetry. Use a level to draw horizontal and vertical guidelines. This ensures your tiles remain straight and evenly spaced as you move along the wall.
2. Apply Adhesive Evenly
Spread tile adhesive with a notched trowel, working in small sections to prevent it from drying out. Press each tile firmly into place, using spacers to maintain consistent gaps. Check alignment frequently with a level.
3. Cut Tiles for Edges and Fixtures
Measure carefully and use a tile cutter or wet saw for clean, accurate cuts. For pipes or outlets, a hole saw or tile nippers may be needed. Always wear safety gear when cutting tiles.
4. Allow Adhesive to Cure
Let the adhesive set according to the manufacturer’s instructions—usually 24 hours. Avoid disturbing the tiles during this period to ensure a strong bond.
5. Grout and Seal
Remove spacers and mix grout to a smooth consistency. Apply with a rubber float, pressing it into the joints. Wipe away excess with a damp sponge before it hardens. Once dry, apply a grout sealer to protect against moisture and stains.
Common Mistakes to Avoid in Bathroom Tiling Projects
Even experienced DIYers can fall into traps that affect the durability and appearance of their tilework. Some frequent issues include:
- Not using a waterproof membrane behind tiles, leading to mold or water damage.
- Rushing the adhesive or grout curing process.
- Failing to plan tile layout, resulting in slivers of tile at edges.
- Skipping grout sealer, which can cause staining and moisture penetration.
For a deeper look at what can go wrong and how to prevent it, see these common bathroom remodel mistakes to avoid.
Finishing Touches for a Polished Look
Once your tiles are set and grouted, take time to clean the surface thoroughly. Remove any haze with a damp cloth and buff tiles for a shine. Caulk the edges where tile meets other surfaces, such as the bathtub or vanity, to create a watertight seal and a seamless transition.
Consider adding functional accessories, like a shower caddy or water filter, to enhance both style and practicality. Small upgrades can make a big difference in the daily enjoyment of your new space.
Maintaining Your New Tilework
Proper care extends the life and beauty of your bathroom walls. Regularly wipe down tiles to prevent soap scum and mildew buildup. Use a non-abrasive cleaner and reseal grout lines annually to maintain water resistance. For more inspiration on keeping your space fresh, explore these diy bathroom decor projects you can complete in a weekend.
Frequently Asked Questions
What type of adhesive should I use for bathroom wall tiles?
Always choose a waterproof adhesive specifically formulated for bathrooms or wet areas. Thin-set mortar is a popular choice for its strong bond and moisture resistance. Check the manufacturer’s recommendations for your tile type.
How do I prevent tiles from slipping during installation?
Using tile spacers and working in small sections helps keep tiles in place while the adhesive sets. Start from the bottom and move upward, allowing gravity to assist. Some adhesives are designed for vertical surfaces and offer extra grip.
Can I install new tiles over existing bathroom tiles?
It’s possible if the old tiles are in good condition, flat, and firmly attached. Clean and roughen the surface, then use a suitable adhesive. However, this can add thickness to your walls and may not be ideal in all situations. When in doubt, consult a professional.
Conclusion
With the right preparation, tools, and attention to detail, you can achieve a high-quality result that rivals professional work. Take your time, follow best practices, and don’t hesitate to seek advice if you encounter challenges. For more guidance on planning your remodel, see these tips on measuring bathroom space correctly and bathroom renovation financing tips to help you budget smarter. Your new bathroom walls will be a source of pride and comfort for years to come.