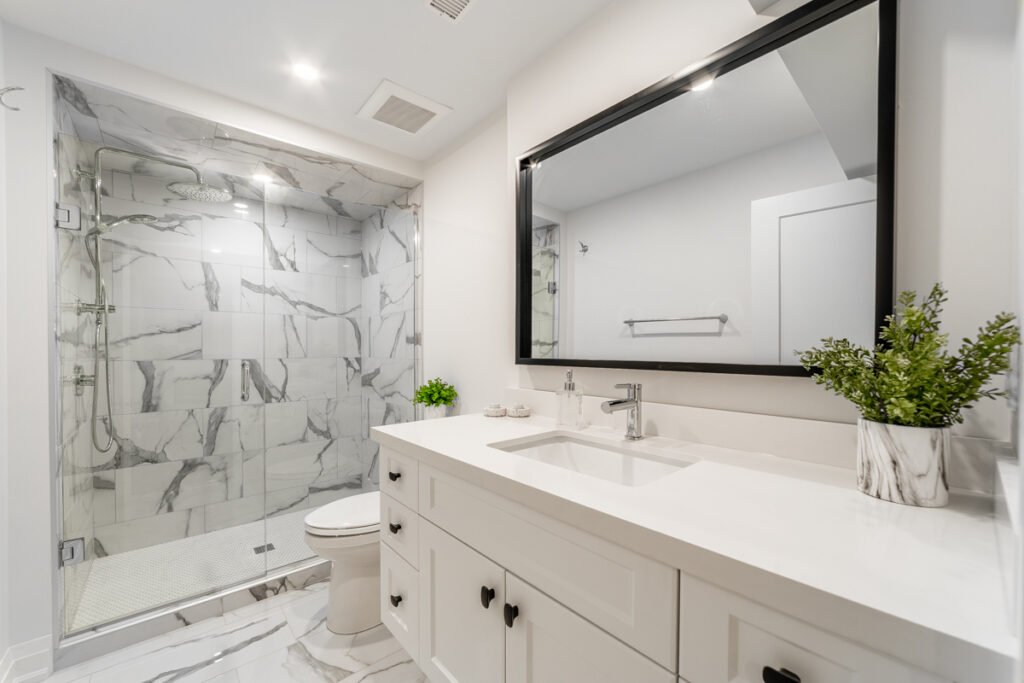
Completing a bathroom renovation is exciting, but the aftermath often leaves behind a mess that can feel overwhelming. Dust, grout residue, stray paint, and construction debris can settle on every surface, making the space look far from finished. A thorough approach to bathroom cleaning after renovation ensures your new fixtures and finishes shine, while also protecting your investment from potential damage caused by leftover materials.
Whether you tackled a full remodel or a simple update, the right cleaning process is essential. Before diving in, it’s helpful to understand the specific challenges that post-renovation cleaning presents, and how to address each one efficiently. For those still in the planning phase, reviewing tips on measuring bathroom space correctly can help prevent future headaches and streamline both renovation and cleanup.
Why Post-Renovation Bathroom Cleanup Is Different
Unlike routine tidying, bathroom cleaning after renovation involves removing fine dust, adhesive residues, and sometimes even hazardous particles. Construction dust can linger on walls, ceilings, and inside vents, while grout haze and caulk smears may be left on tiles and fixtures. These materials require special attention to avoid scratching surfaces or damaging new finishes.
Additionally, leftover debris can clog drains or scratch glass and ceramics if not handled properly. Taking the time to clean thoroughly not only enhances the look of your bathroom but also prevents long-term issues like mold growth or surface etching.
Essential Supplies for a Thorough Clean
Before starting, gather the right tools and products. Having everything on hand will make the process more efficient and prevent accidental damage to your new space. Here’s a list of recommended supplies:
- Microfiber cloths and dusters (to trap fine dust without scratching)
- Non-abrasive sponges
- Broom, dustpan, and vacuum with a HEPA filter
- Mop and bucket
- pH-neutral cleaner (safe for most surfaces)
- Glass cleaner
- Grout haze remover (if needed)
- Protective gloves and a mask (for dust and chemical safety)
Using the right products is especially important for protecting new tile, glass, and metal finishes. Avoid harsh chemicals or abrasive pads that could dull or scratch surfaces.
Step-by-Step Guide to Bathroom Cleaning After Renovation
To achieve a spotless result, follow a systematic approach. Working from top to bottom ensures that dust and debris don’t resettle on already-cleaned areas.
1. Remove Large Debris and Dust
Start by picking up any leftover construction materials, packaging, or large debris. Use a broom and dustpan to collect bigger particles. Next, vacuum all surfaces—walls, floors, and even inside cabinets—using a HEPA filter to capture fine dust. Don’t forget to vacuum vents and exhaust fans, as these often collect significant dust during renovations.
2. Clean Walls, Ceilings, and Fixtures
Wipe down walls and ceilings with a slightly damp microfiber cloth to remove dust. Pay special attention to corners and behind fixtures. For light fixtures and mirrors, use a glass cleaner and a lint-free cloth for a streak-free finish. If you notice any paint splatters or adhesive residue, gently remove them with a plastic scraper or a damp cloth.

3. Address Grout Haze and Tile Residue
Newly installed tile often has a cloudy film known as grout haze. Use a grout haze remover or a mixture of vinegar and water (only if safe for your tile type) to gently buff away the residue. Rinse thoroughly with clean water to prevent streaks. For stubborn spots, a non-abrasive sponge can help lift the haze without scratching the surface.
4. Deep Clean Floors and Baseboards
Vacuum and mop the floors, paying attention to corners and edges where dust accumulates. Use a pH-neutral cleaner to avoid damaging grout and tile. Wipe down baseboards and door frames, which often collect dust during construction. If you have new flooring, check manufacturer recommendations for safe cleaning methods.
5. Sanitize Sinks, Tubs, and Toilets
Construction dust can settle inside sinks, tubs, and toilets. Use a non-abrasive cleaner and sponge to scrub these fixtures, focusing on drains and overflow holes. Rinse thoroughly to remove any cleaning product residue. For a finishing touch, polish faucets and handles with a soft cloth to restore their shine.
6. Final Touches: Glass, Mirrors, and Accessories
Clean all glass surfaces and mirrors with a streak-free cleaner. Reinstall accessories like towel bars, shelves, and organizers only after all surfaces are dry and dust-free. If you’re looking to maximize your new space, consider exploring diy bathroom decor projects for inspiration on adding personal touches.

Tips for Maintaining a Newly Renovated Bathroom
Once your bathroom is spotless, regular maintenance will help preserve its fresh look. Here are a few practical tips:
- Wipe down surfaces daily to prevent dust buildup.
- Use a squeegee on glass after showers to reduce water spots.
- Check and clean exhaust fans monthly to maintain air quality.
- Organize cleaning supplies in a caddy for easy access.
- Consider installing a shower filter to minimize mineral deposits and keep fixtures looking new.
For budget-friendly ways to enhance your space, take a look at cheap bathroom makeover ideas that can complement your recent renovation.
Common Mistakes to Avoid During Post-Renovation Cleaning
To protect your investment, steer clear of these frequent pitfalls:
- Using abrasive tools that can scratch tiles, glass, or fixtures.
- Skipping the vacuum step, which leaves fine dust to resettle.
- Neglecting hidden areas like vents and behind appliances.
- Applying harsh chemicals that may damage new finishes.
- Rushing the process—thorough cleaning takes time and attention to detail.
For more expert advice on planning and executing a successful remodel, check out these expert tips for planning your perfect bathroom renovation.
Frequently Asked Questions
How long should I wait before cleaning my bathroom after a renovation?
It’s best to wait until all construction work is fully completed and any adhesives, grout, or caulk have cured according to manufacturer instructions. This usually means waiting at least 24–48 hours after the last work is done. Cleaning too soon can disrupt curing and affect the final finish.
What’s the safest way to remove grout haze from new tiles?
Use a grout haze remover specifically designed for your tile type, or a diluted vinegar solution if your tiles are not natural stone. Apply with a soft cloth or sponge, gently buffing the surface. Always rinse thoroughly with clean water and avoid abrasive pads that could scratch the tile.
Can I use regular household cleaners on newly renovated surfaces?
Not all household cleaners are safe for new finishes. Avoid products with harsh chemicals or abrasives. Opt for pH-neutral cleaners and always check manufacturer recommendations for each surface. Test any new product on a small, inconspicuous area first.
Conclusion
Giving your bathroom a meticulous clean after renovation is a crucial final step. By following a methodical approach and using the right supplies, you’ll reveal the true beauty of your new space and protect it for years to come. For more inspiration on creating a timeless look, see these timeless bathroom design ideas that never go out of style.