
Your bathroom floor goes through a lot every single day — water splashes, steam, temperature changes, and constant foot traffic. Even the toughest materials can eventually show signs of wear. Maybe you’ve noticed a cracked tile, peeling vinyl, or a soft spot that doesn’t feel quite right underfoot. The good news? Many of these issues can be fixed before they turn into expensive problems.
In this practical bathroom floor repair guide, we’ll walk you through the most common flooring problems and how to fix them. Whether you have tile, vinyl, or another surface, these simple tips will help you restore your floor and protect it for the long run.
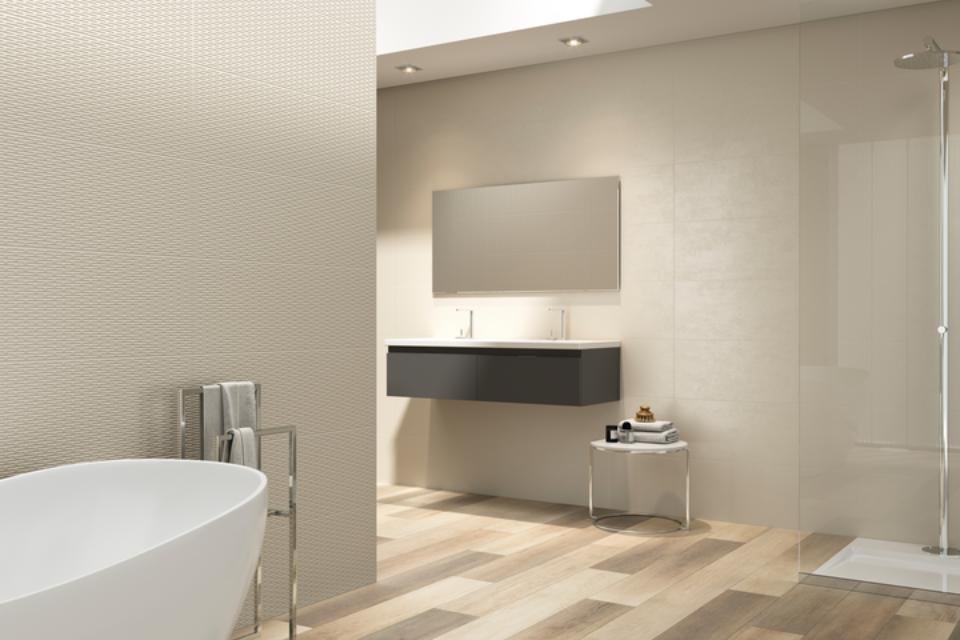
Thinking about replacing your flooring instead? It may also help to compare tile vs vinyl bathroom flooring to see which option best suits your space.
Common Bathroom Floor Problems (And Why They Happen)
Bathrooms are naturally high-moisture environments. Over time, that moisture can cause several issues, including:
- Cracked or chipped tiles from dropped objects or shifting subfloors
- Peeling or bubbling vinyl caused by trapped moisture or weak adhesive
- Loose or missing grout that allows water to seep underneath
- Soft or sagging spots from water-damaged subfloors
- Mold or stains forming along seams and corners
Catching these problems early makes a big difference. Small repairs are often simple DIY fixes, while ignoring them can lead to full floor replacements.
How to Fix Cracked or Broken Tiles
Tile floors are durable, but they’re not indestructible. If a tile cracks, replacing it is usually straightforward:
- Remove the damaged tile: Carefully break and lift it out using a hammer and chisel. Always wear gloves and safety glasses.
- Clean the surface: Remove old adhesive and grout. Vacuum away dust for a clean base.
- Apply fresh adhesive: Spread tile adhesive evenly in the empty space.
- Install the new tile: Press it firmly into place and let it set according to the manufacturer’s instructions.
- Re-grout the edges: Fill the joints with grout and wipe away excess with a damp sponge.
If you’re unsure about tile types or maintenance, check out our guide on ceramic tile bathroom floor benefits and care.
Repairing Peeling or Damaged Vinyl Flooring
Vinyl flooring is affordable and water-resistant, but moisture underneath can cause it to lift or bubble. Here’s how to fix common issues:
- Small bubbles: Carefully slit the bubble with a utility knife, remove trapped air or moisture, apply adhesive underneath, and weigh it down until dry.
- Peeling edges: Clean thoroughly, apply vinyl adhesive, press firmly, and secure with painter’s tape while it sets.
- Larger damage: Cut out the damaged section neatly and use it as a template to cut a matching patch. Glue it in place and smooth the seams.
Considering an upgrade? Luxury vinyl plank for bathrooms is becoming a popular choice thanks to its durability and modern appearance.
Fixing Water Damage and Soft Spots
If your floor feels spongy or uneven, water may have damaged the subfloor underneath. Before repairing anything, always fix the source of the moisture — whether it’s a leaking pipe, shower seam, or poor ventilation.
- Locate and repair the leak.
- Remove the affected flooring.
- Cut out the damaged subfloor section.
- Replace with new plywood of the same thickness and secure it to the joists.
- Reinstall the finished flooring.
Sealing grout lines and re-caulking edges regularly can prevent this kind of damage in the future.
Grout and Caulk: Small Maintenance, Big Protection
Grout and caulk are your first defense against water infiltration. Over time, they can crack, shrink, or discolor.
- Re-grouting: Remove crumbling grout with a grout saw, apply new grout using a rubber float, and let it cure fully before exposing to water.
- Re-caulking: Remove old caulk, clean thoroughly, apply a fresh bead of waterproof bathroom caulk, and smooth for a neat finish.
Keeping these areas sealed can dramatically extend the life of your bathroom floor.
When It’s Time to Call a Professional
DIY repairs are great for minor issues, but sometimes professional help is the safer option. Consider calling a licensed contractor if you notice:
- Extensive water damage affecting structural supports
- Recurring mold problems
- Severe sagging or uneven flooring
- Heated flooring systems requiring specialized repair
- Electrical or plumbing complications in the repair area
Frequently Asked Questions
How do I prevent bathroom floor damage?
Fix leaks quickly, reseal grout regularly, use bath mats to reduce standing water, and ensure proper ventilation.
Can I repair my bathroom floor myself?
Small repairs like replacing a tile or patching vinyl are manageable for most homeowners. Structural damage or mold issues should be handled professionally.
Are there alternatives to tile and vinyl?
Yes — waterproof laminate, engineered wood, and microcement are gaining popularity. Explore modern bathroom flooring ideas to find what works best for your space.
Final Thoughts
A well-maintained bathroom floor isn’t just about appearance — it protects your home from moisture damage and costly repairs. By addressing small problems early and performing regular maintenance, you can extend the life of your flooring and keep your bathroom looking fresh for years to come.